
by Francisco Kraefft on 12 Jan, 2024
Google Analytics is a powerful tool designed to track and analyze website traffic, offering insights that help businesses understand their audience better. This guide is tailored for beginners, providing a straightforward path to setting up Google Analytics. By the end of this journey, you'll be equipped to make informed decisions, enhancing your website's performance and user experience.
Click here to learn what Google Analytics is and why you should use it for your business.
Starting with a Google Analytics Account
1 - Create the account
To begin, navigate the Google Analytics website and click the "Sign up" button. You can use it here if you already have a Google account (used for Gmail or any other Google service). Otherwise, you'll need to create a new one. Once logged in, you'll be prompted to sign up for Google Analytics. Agree to the terms of service for your country, and proceed to the next step.
The first step will be straightforward; you will be prompted to add your account name and set up the sharing settings. These sharing settings let Google use our data anonymously to improve the service and allow technical support and specialists to access it if you need help. In case your business needs to apply data protection rigorously, such as the California Data Protection Law or GDPR, we recommend deselecting these items.

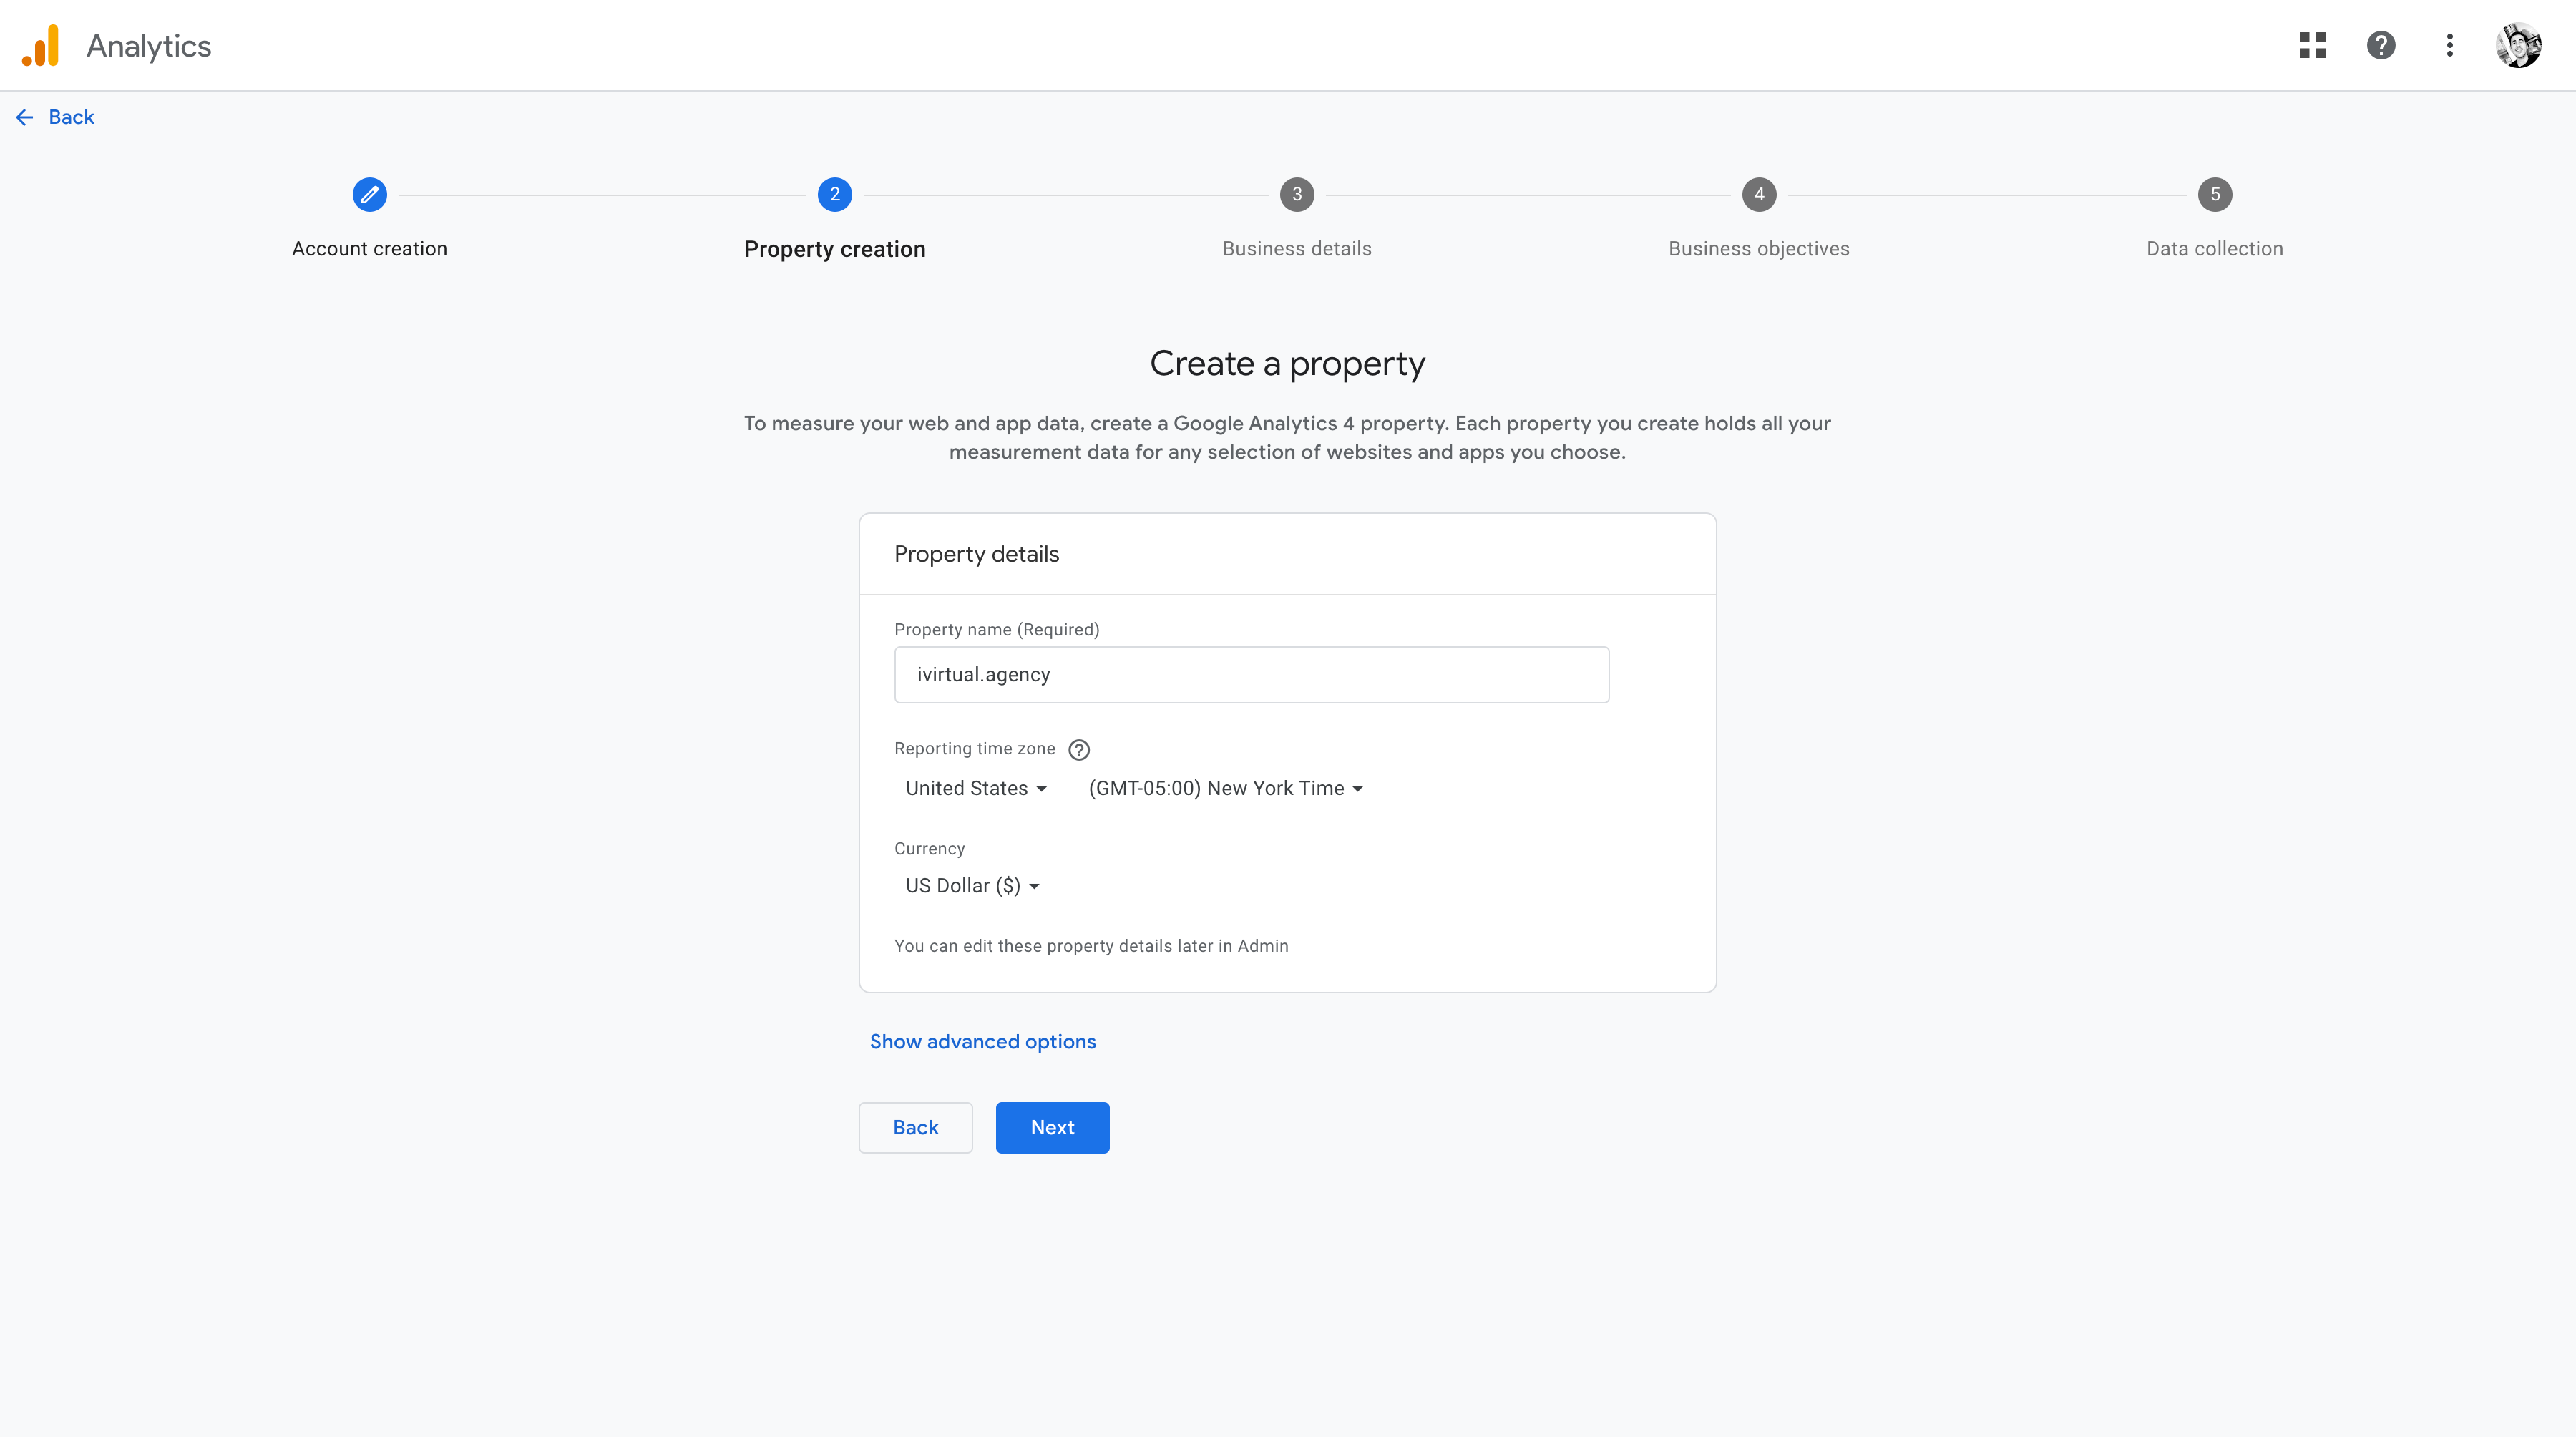
2 - Create the property for your website
In Google Analytics, a "property" represents your website or app and is where your data will be collected. After creating your account, you'll be asked to set up a new property. Enter the name of it and select the reporting time zone and currency. This information helps Google Analytics organize and report your data accurately. Click on the "Next" button to finalize the creation of your property.
As a friendly reminder, the property name can be anything you want, but we highly recommend it be your website's domain. This will help you find it faster in the platform when managing multiple Google Analytics and more quickly when integrating it into other Google services.
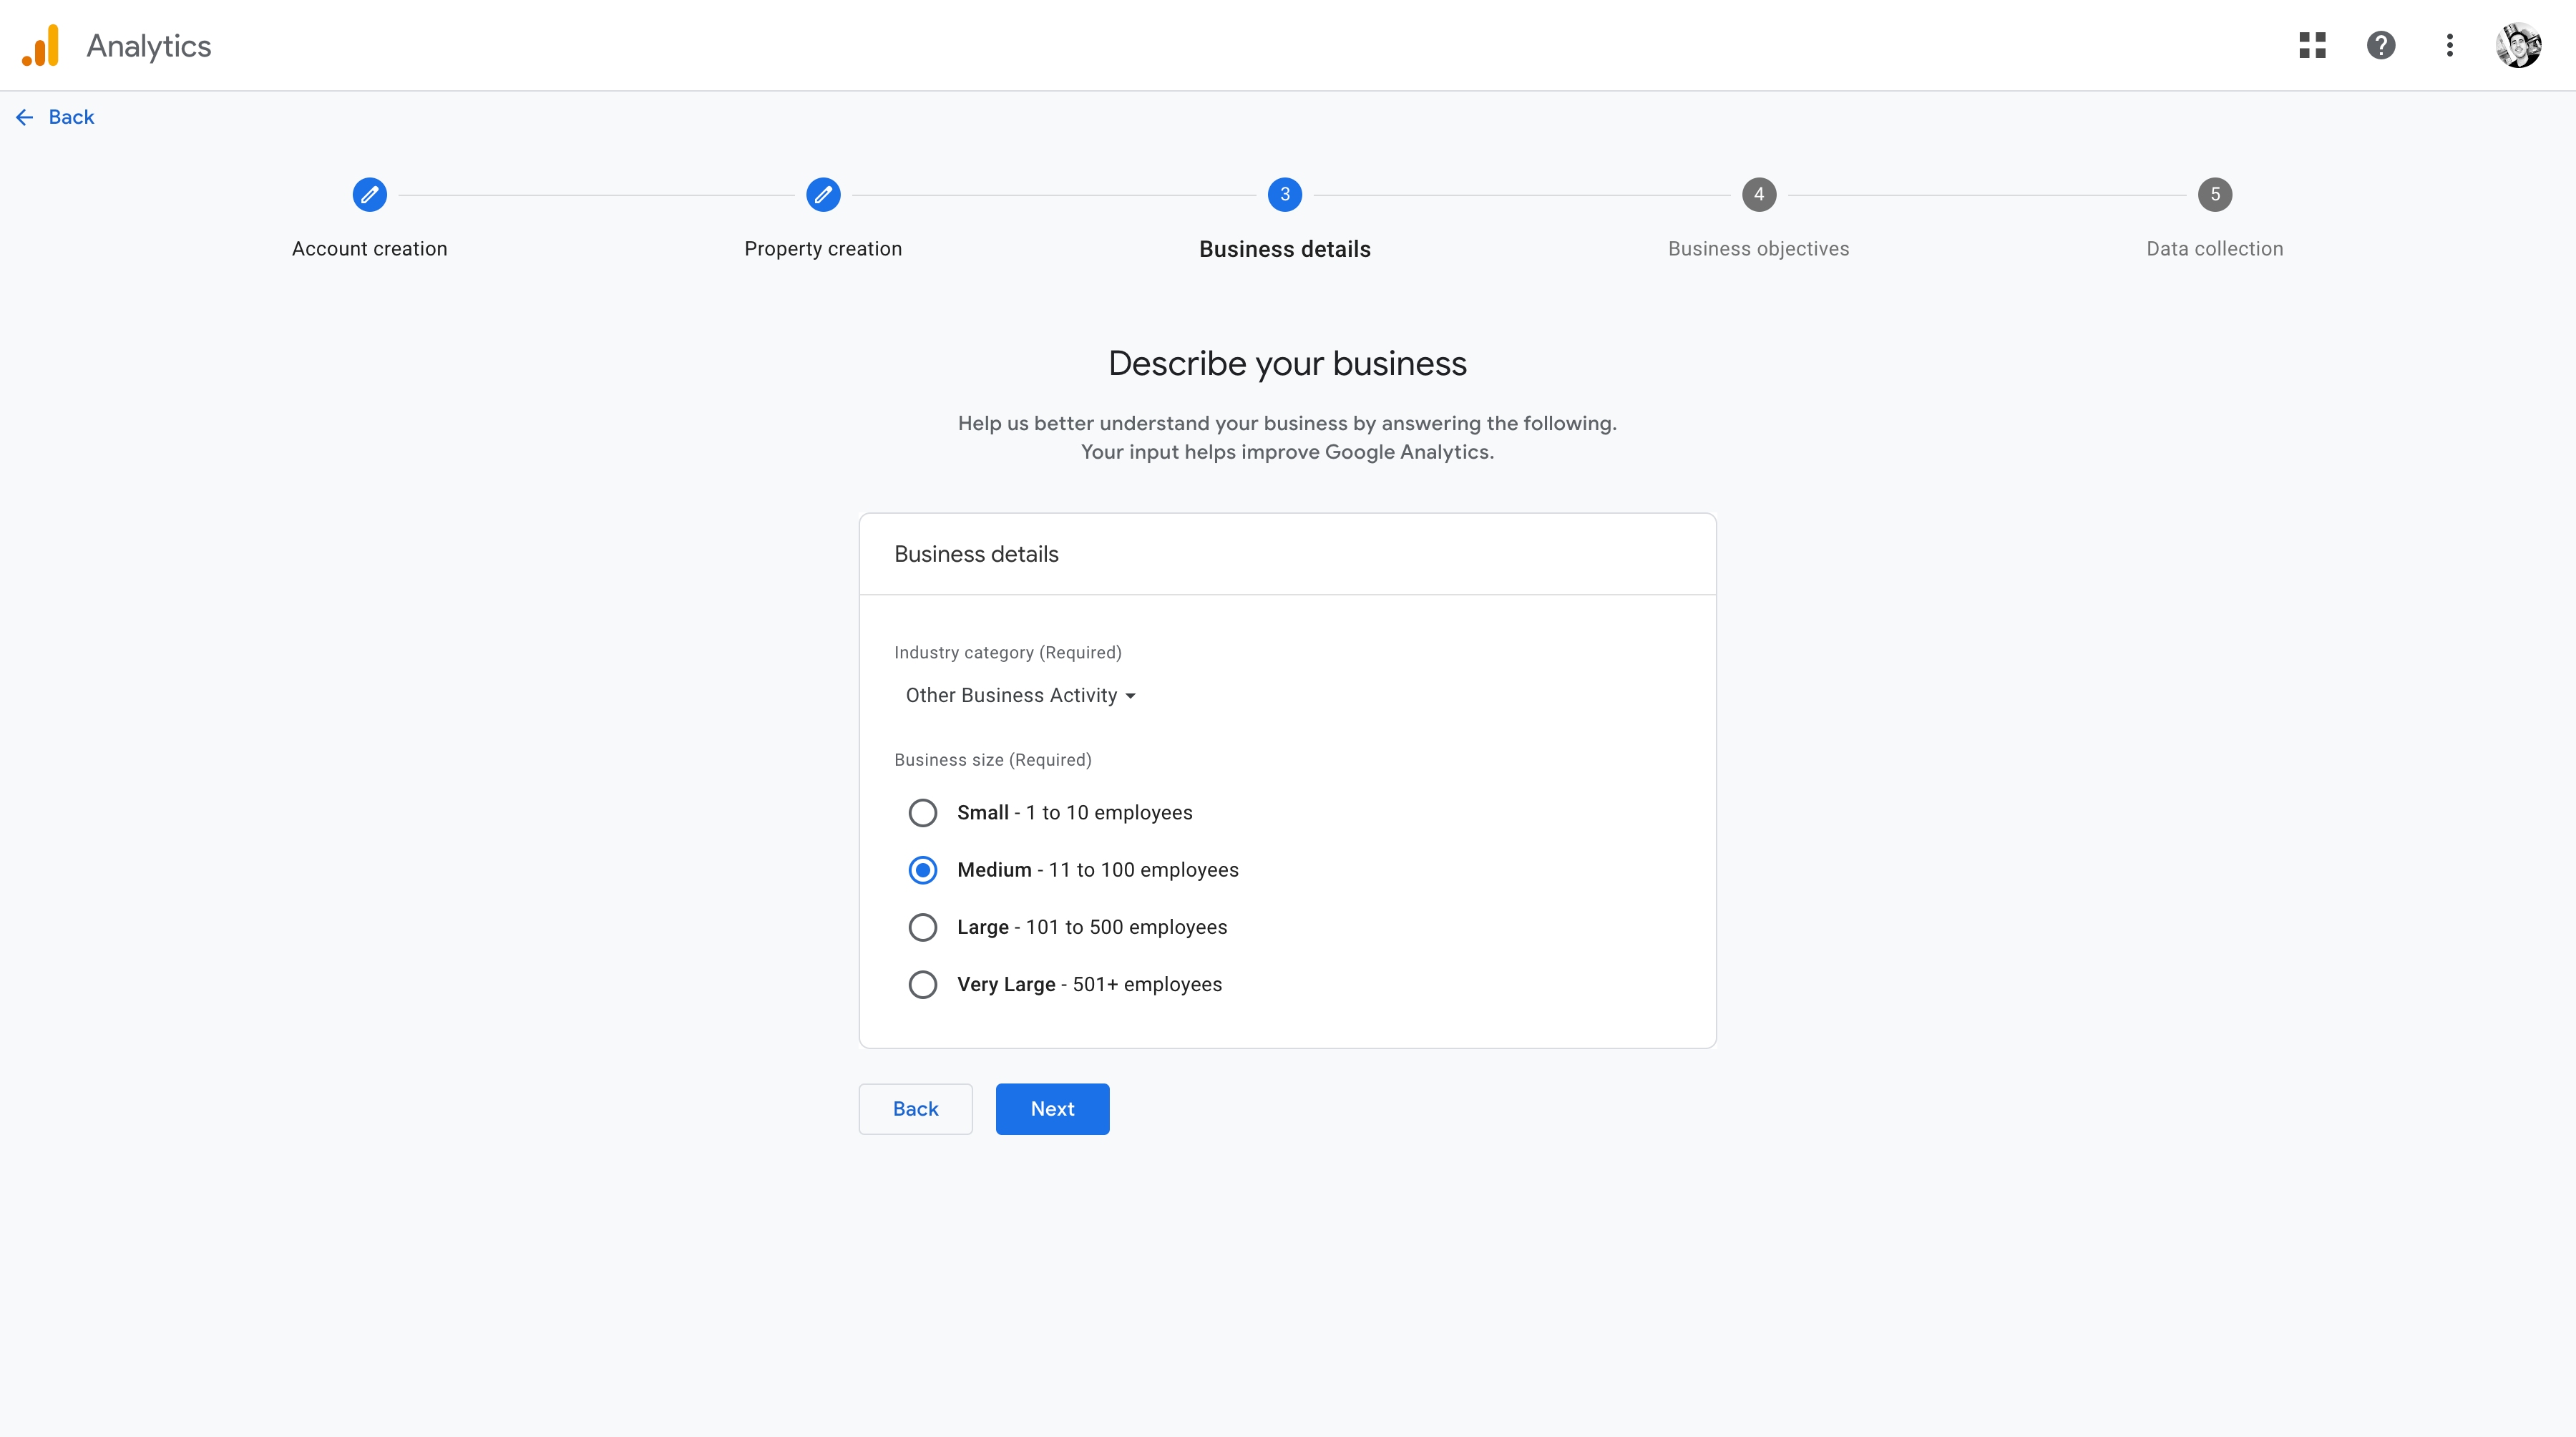
3 - Describe your business
This step involves providing information about your business to help Google Analytics tailor the setup to your needs. You'll be asked about your business size and industry category. Although optional, filling out this information can enhance your experience by customizing the insights and reports you'll receive.
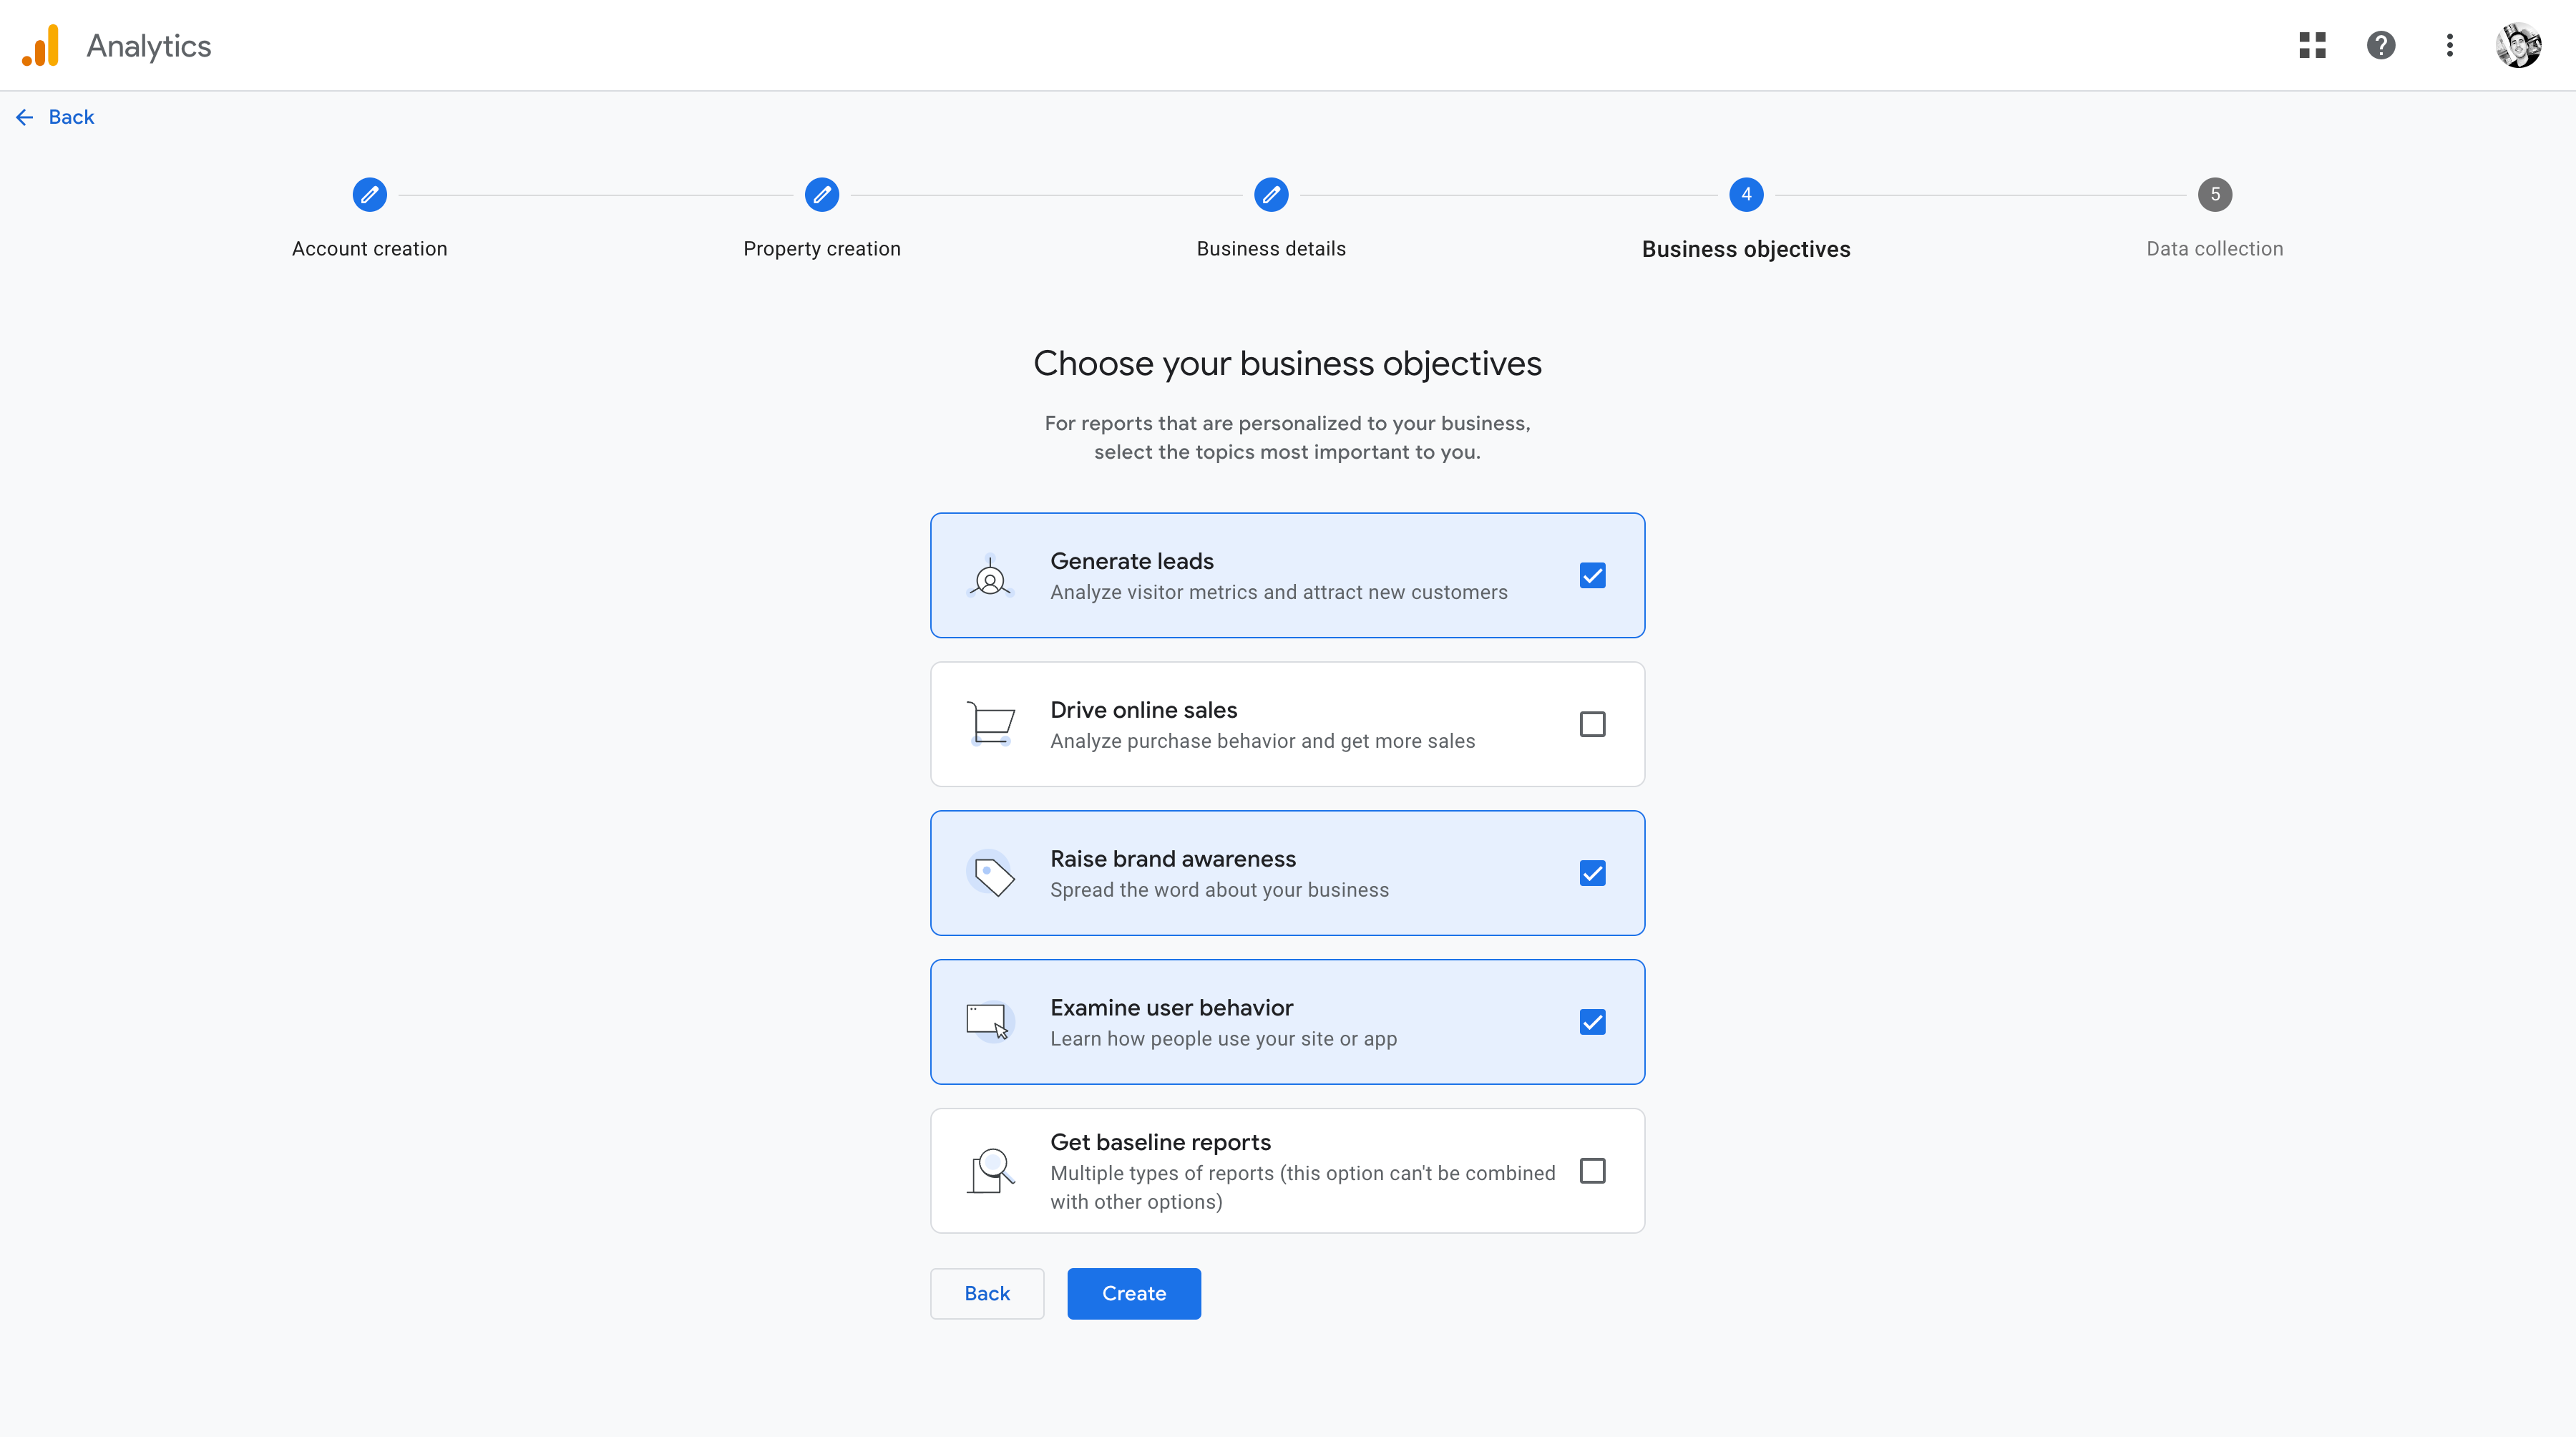
4 - Describe your business objectives
Identifying your business objectives is crucial for later setting up goals in Google Analytics. Consider what you want to achieve with your website or app—increasing sales, improving customer engagement, or growing your mailing list. Understanding these objectives will guide you in configuring Google Analytics to track the metrics that matter most to your business.
The new Google Analytics lets us create our reports on the platforms, giving us immense control over what we want to see depending on our needs. This configuration is complex to implement, so we recommend selecting this step: Raise brand awareness, Examine User behavior, and Generate Leads or Drive Online Sales depending on whether you have an ecommerce or lead-gen business. This will create basic default reports that are more than enough for getting started with the platform.
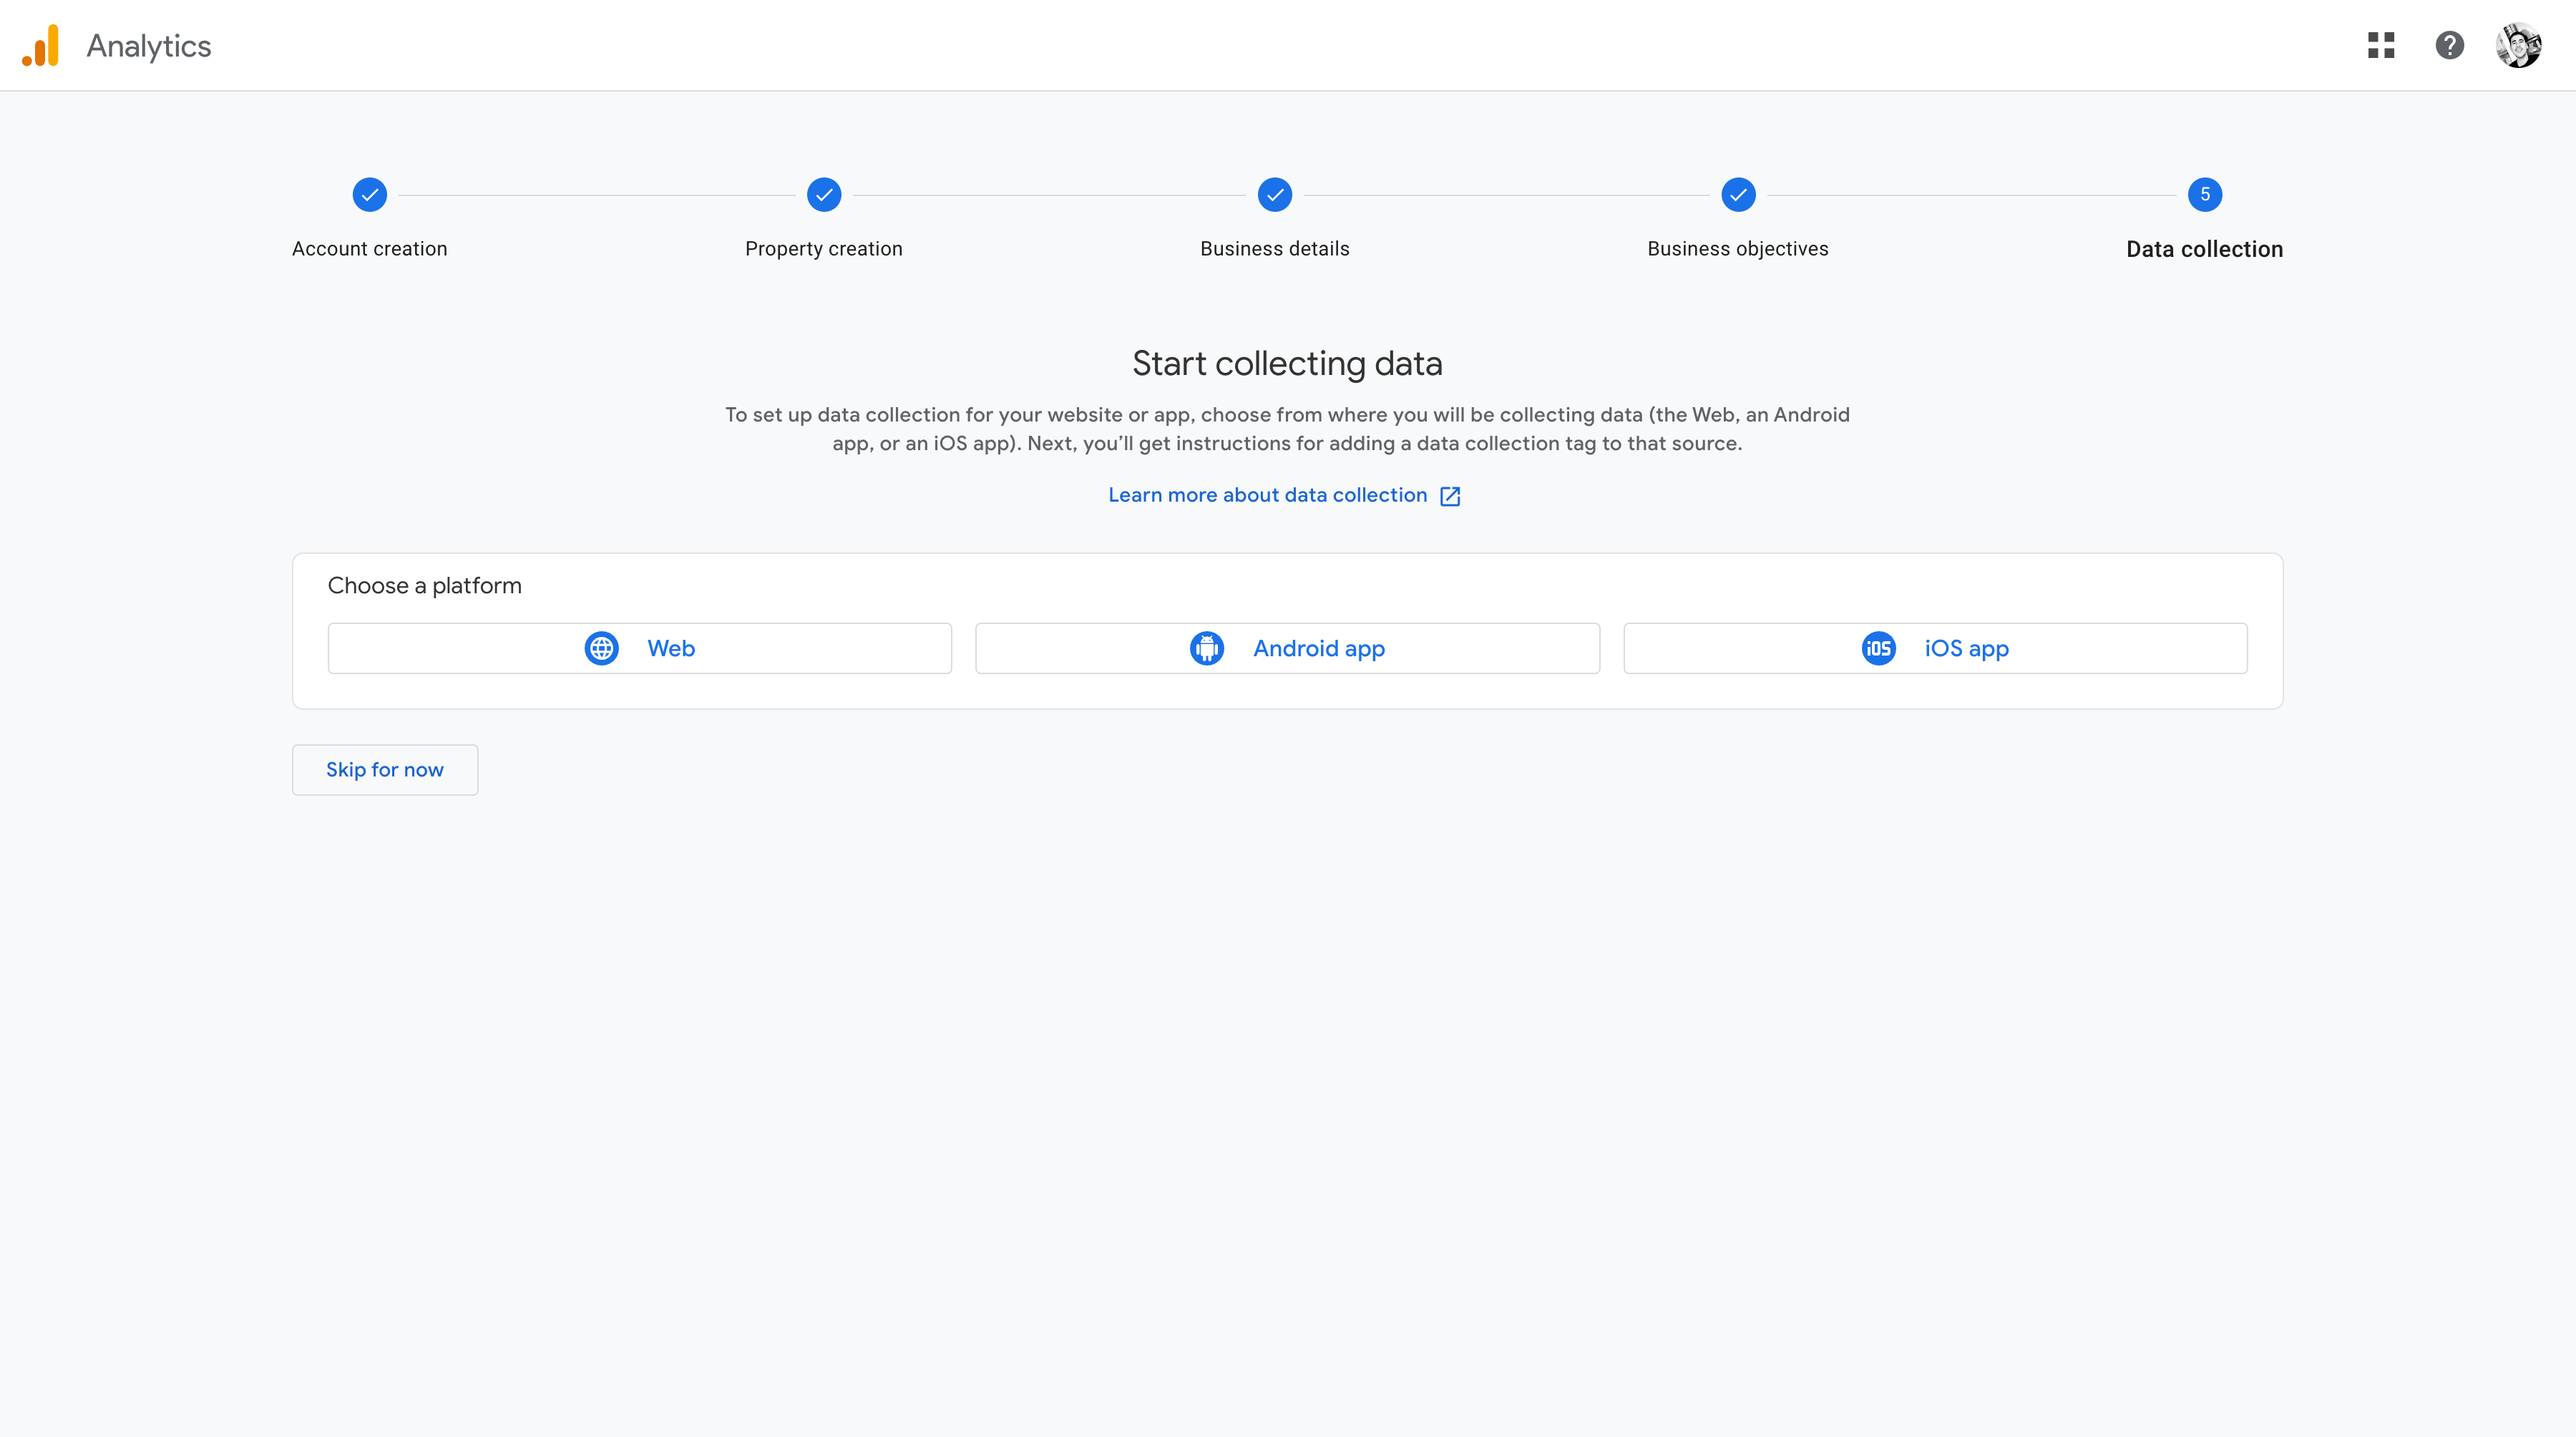
5 - Select your data collection method
Google Analytics offers various methods for collecting data from your website or app. You can choose the best method for your technical capabilities and business needs. We will use the Web for this guide as most customers have a website.
We recommend collecting all the data through the same property with different data streams for apps. This will help track events cross-platform, as many apps also have a website to showcase, which should also be tracked.
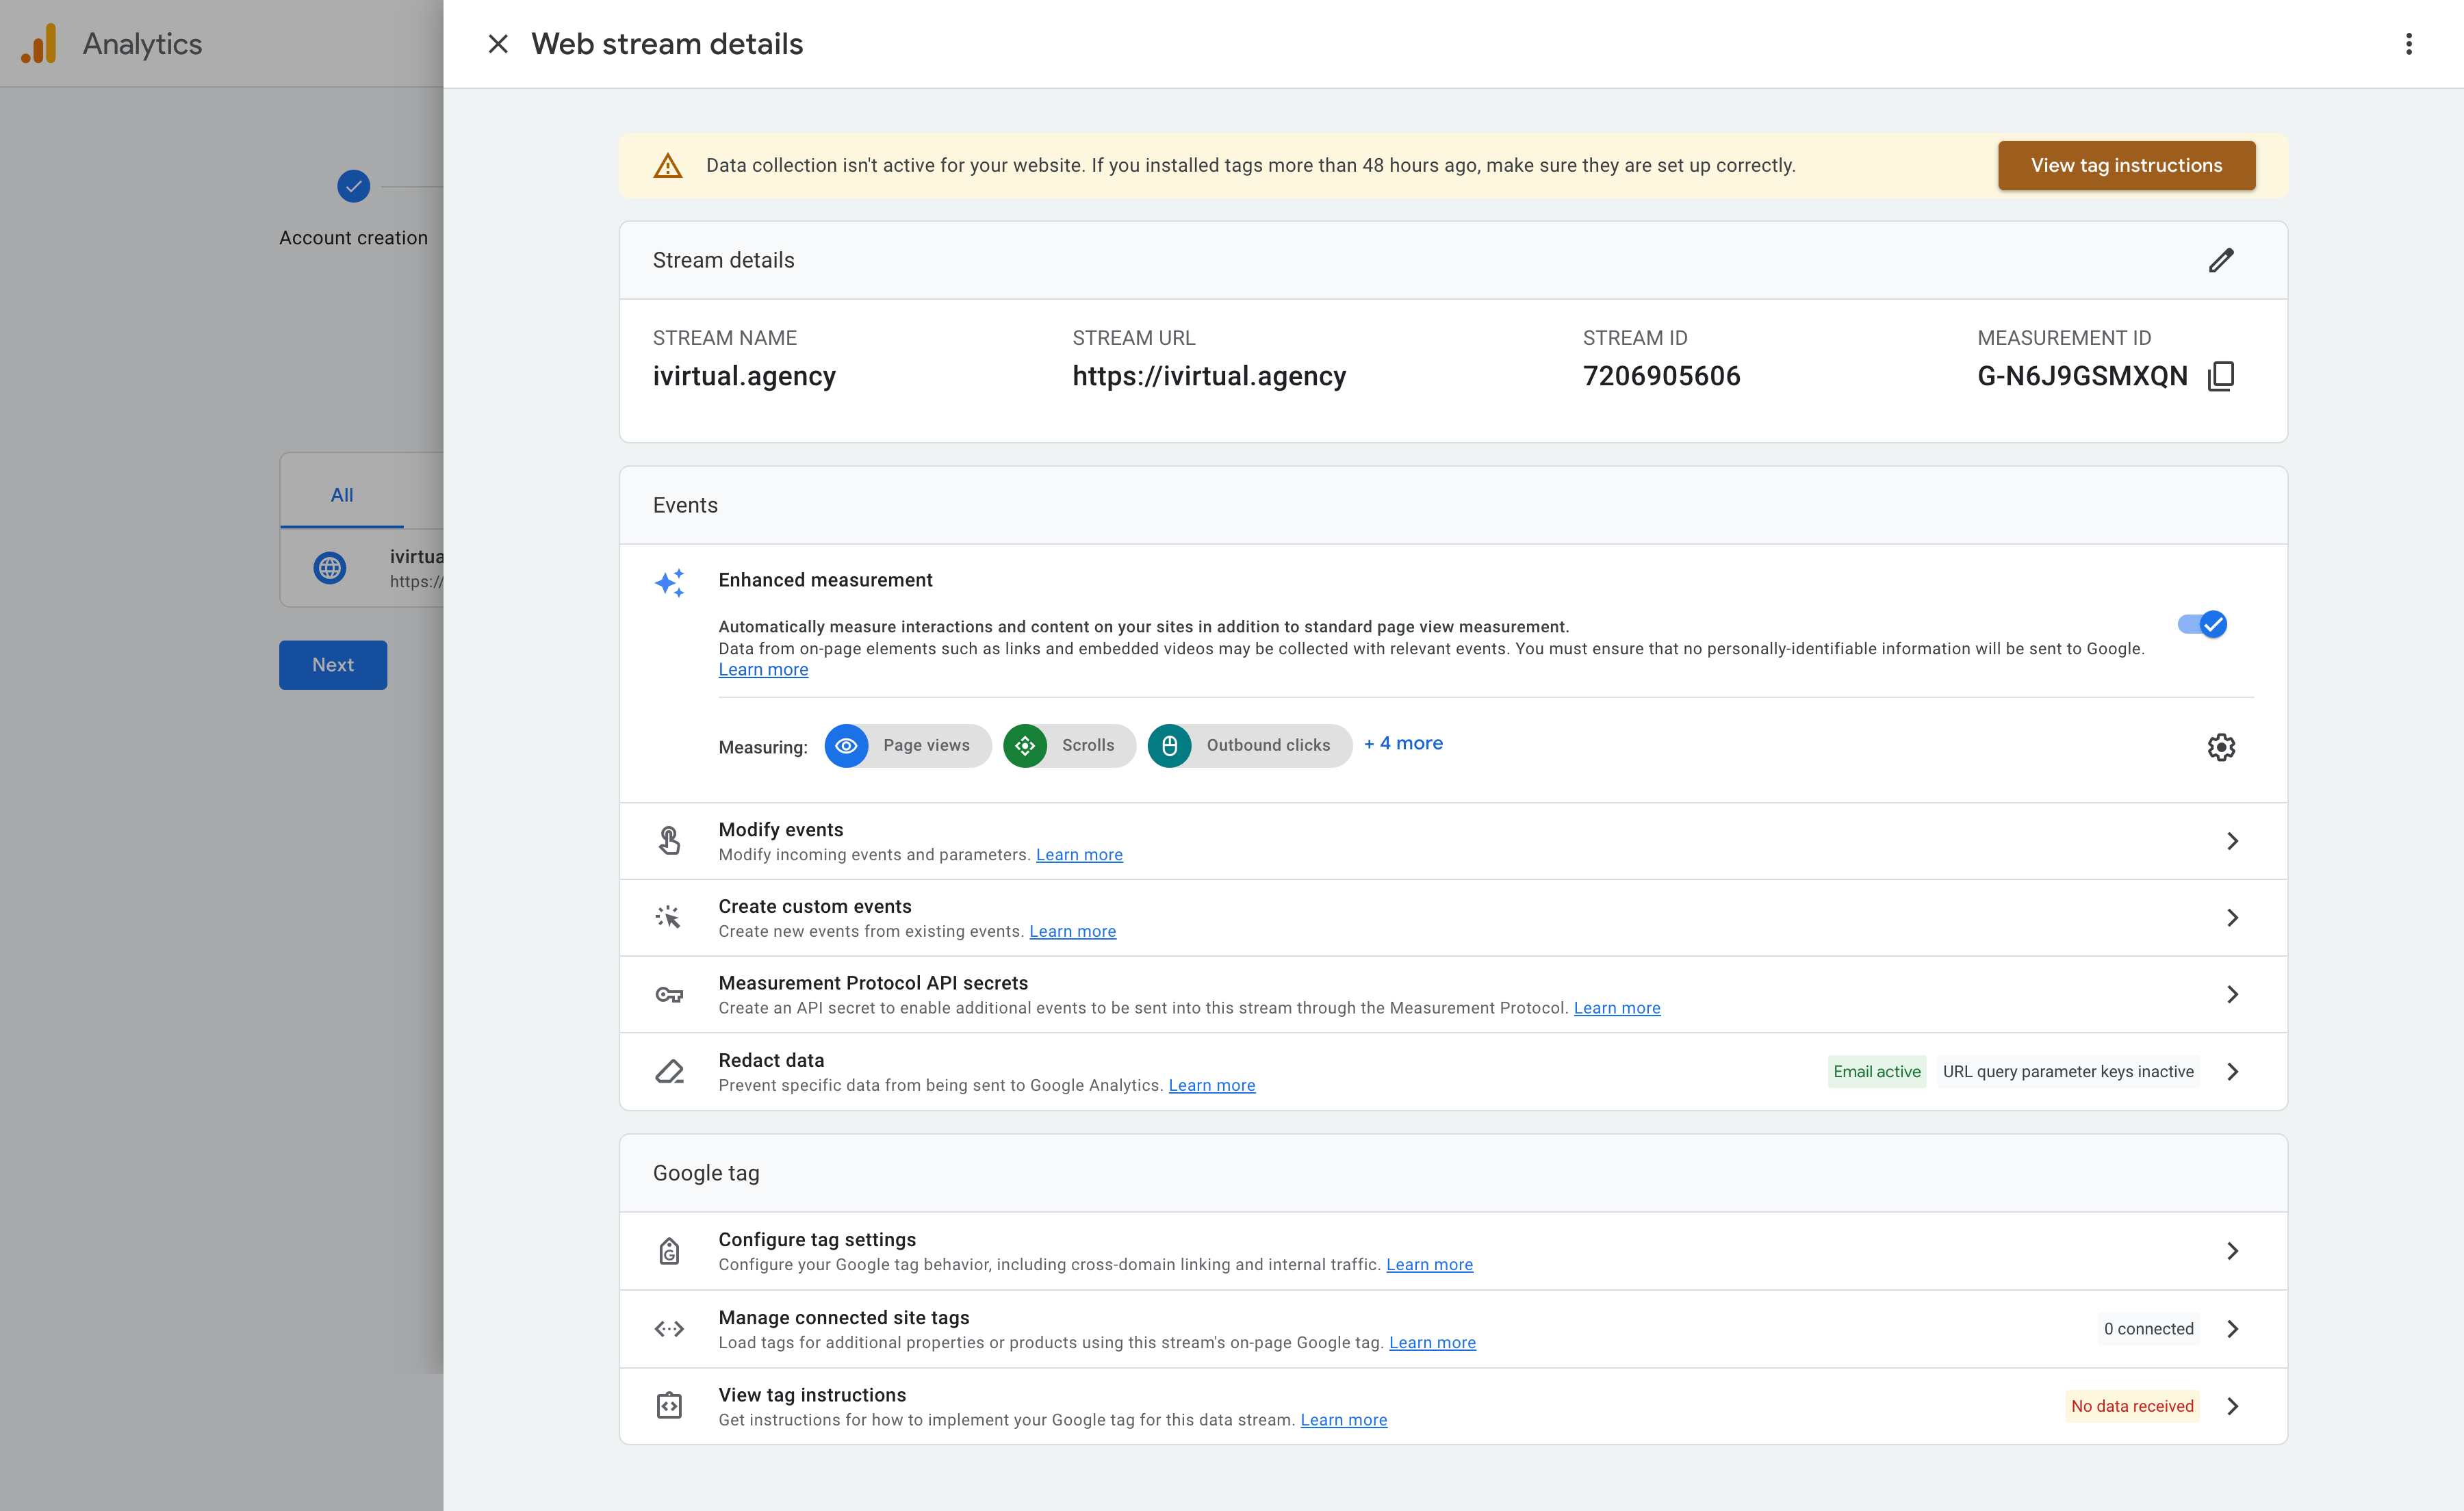
6 - Create your data stream
A data stream is where your data flows into Google Analytics. This step connects your site to Google Analytics, enabling it to start collecting data. Once created, you will be prompted with the following page, where you will have your Measurement ID, which will be used later when installing the tracking into the website.
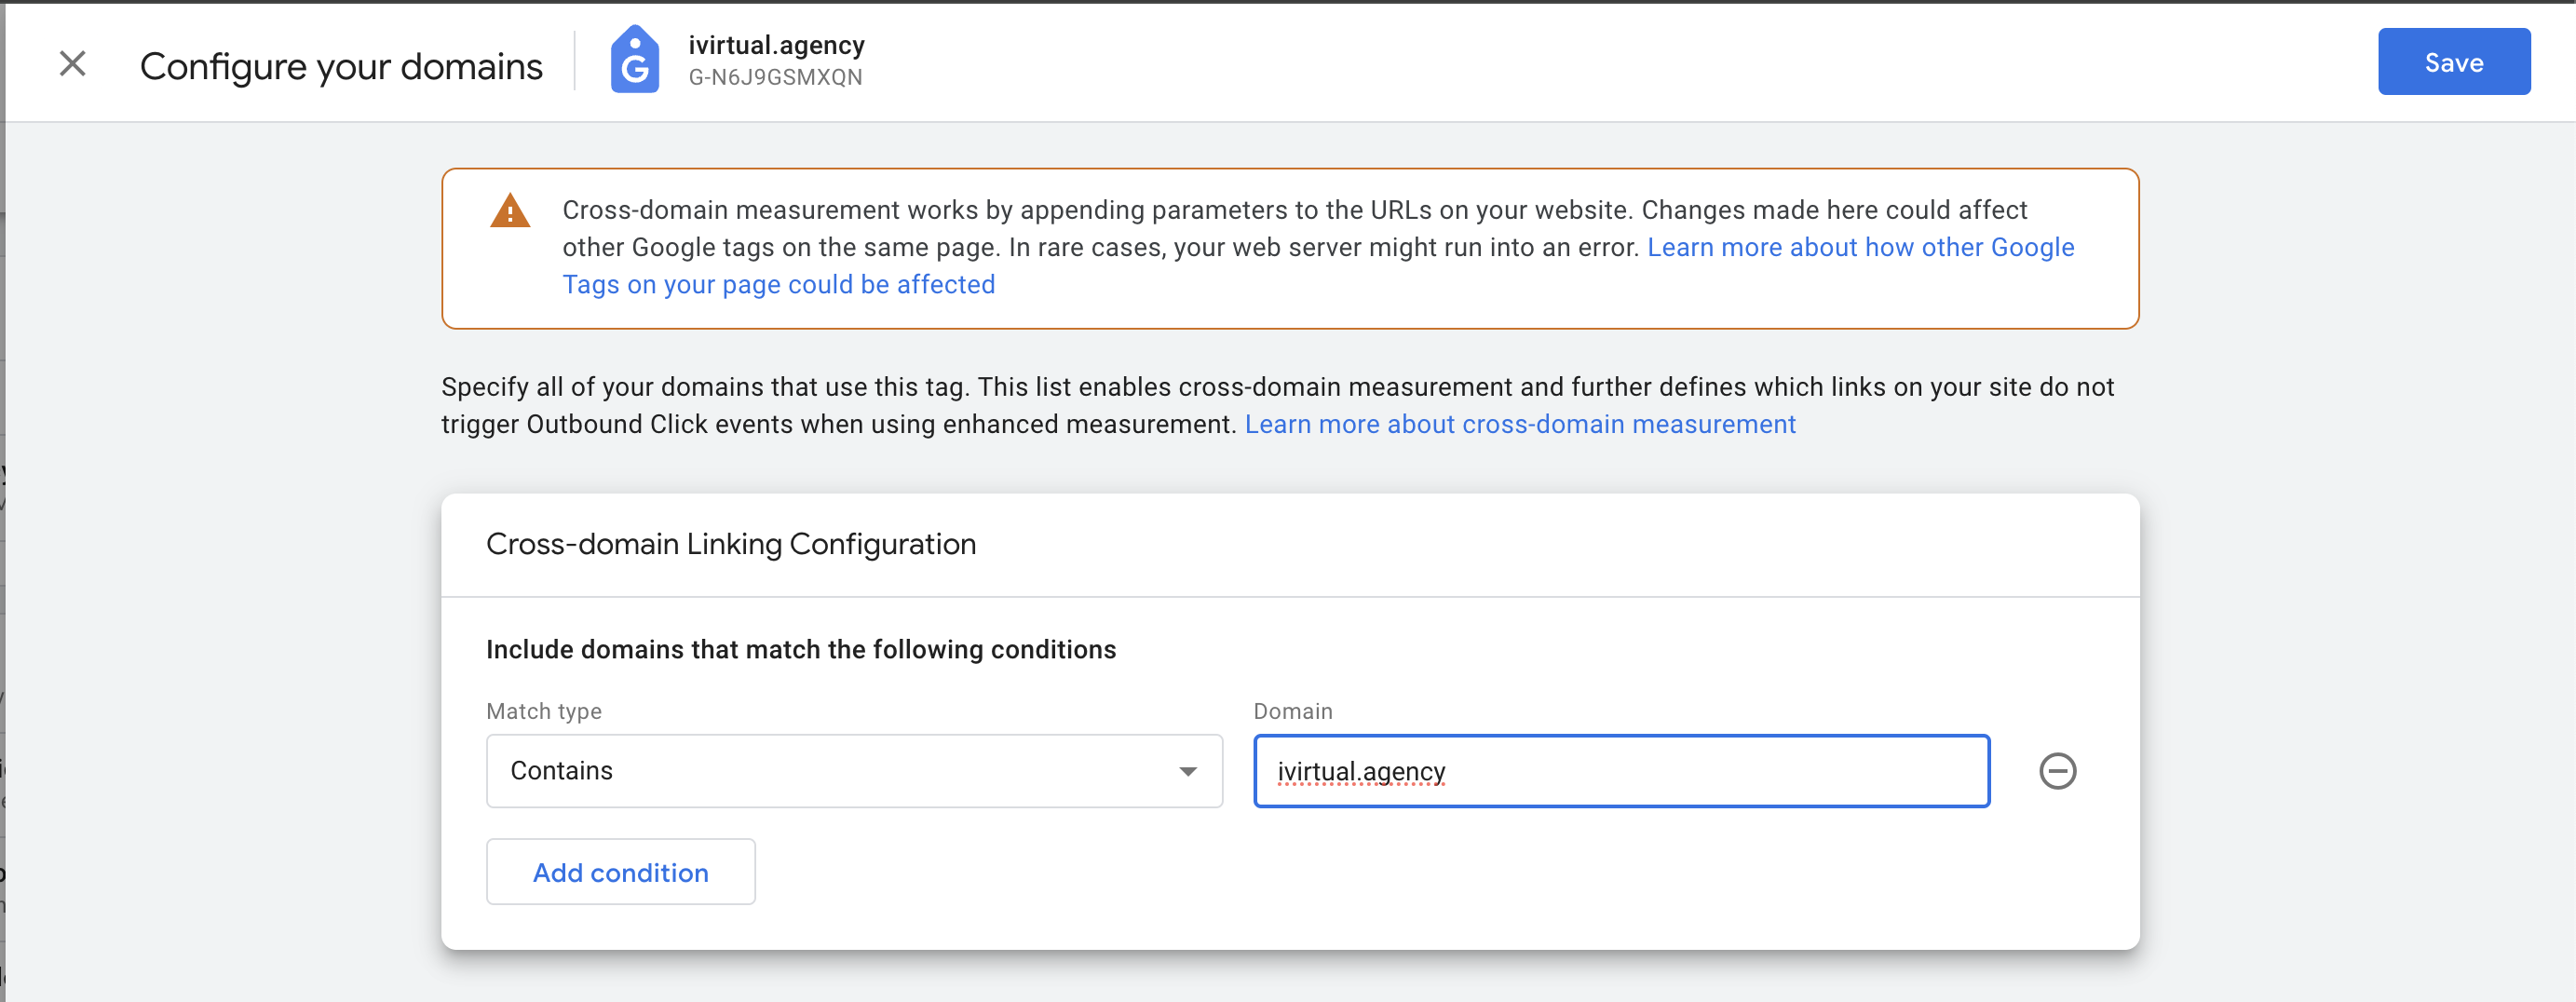
7 - Configure your domain
Before installing the tracking code, we must ensure that Google Analytics only accepts traffic from your specified domain and is set up for cross-domain linking. This will limit the data stream to receive only information from our website; sometimes, spam attacks occur, and we want our data to be safe. Look for the "Configure Tag Settings" section within your data stream's settings. Here, you'll see a field for your website's URL. Make sure your domain is correctly entered. This action restricts data collection to the specified domain, enhancing data accuracy and security.
Installing the Tracking Code
After creating the Data Stream, we will be shown a big yellow alert to install our tag; there, you will see the unique tracking code to install on our website. So that you know, this code must be installed on every website page you wish to track. This involves adding the code before the closing </head> tag in your site's template for most platforms. This allows Google Analytics to monitor site visits, user behavior, and more, providing valuable insights into your website's performance.
The steps to do this will depend entirely on your website's configuration; for example, Shopify offers a way to install it without needing code, and tons of WordPress plugins help us install them without needing to touch the theme. But this step will depend on your specific configurations.

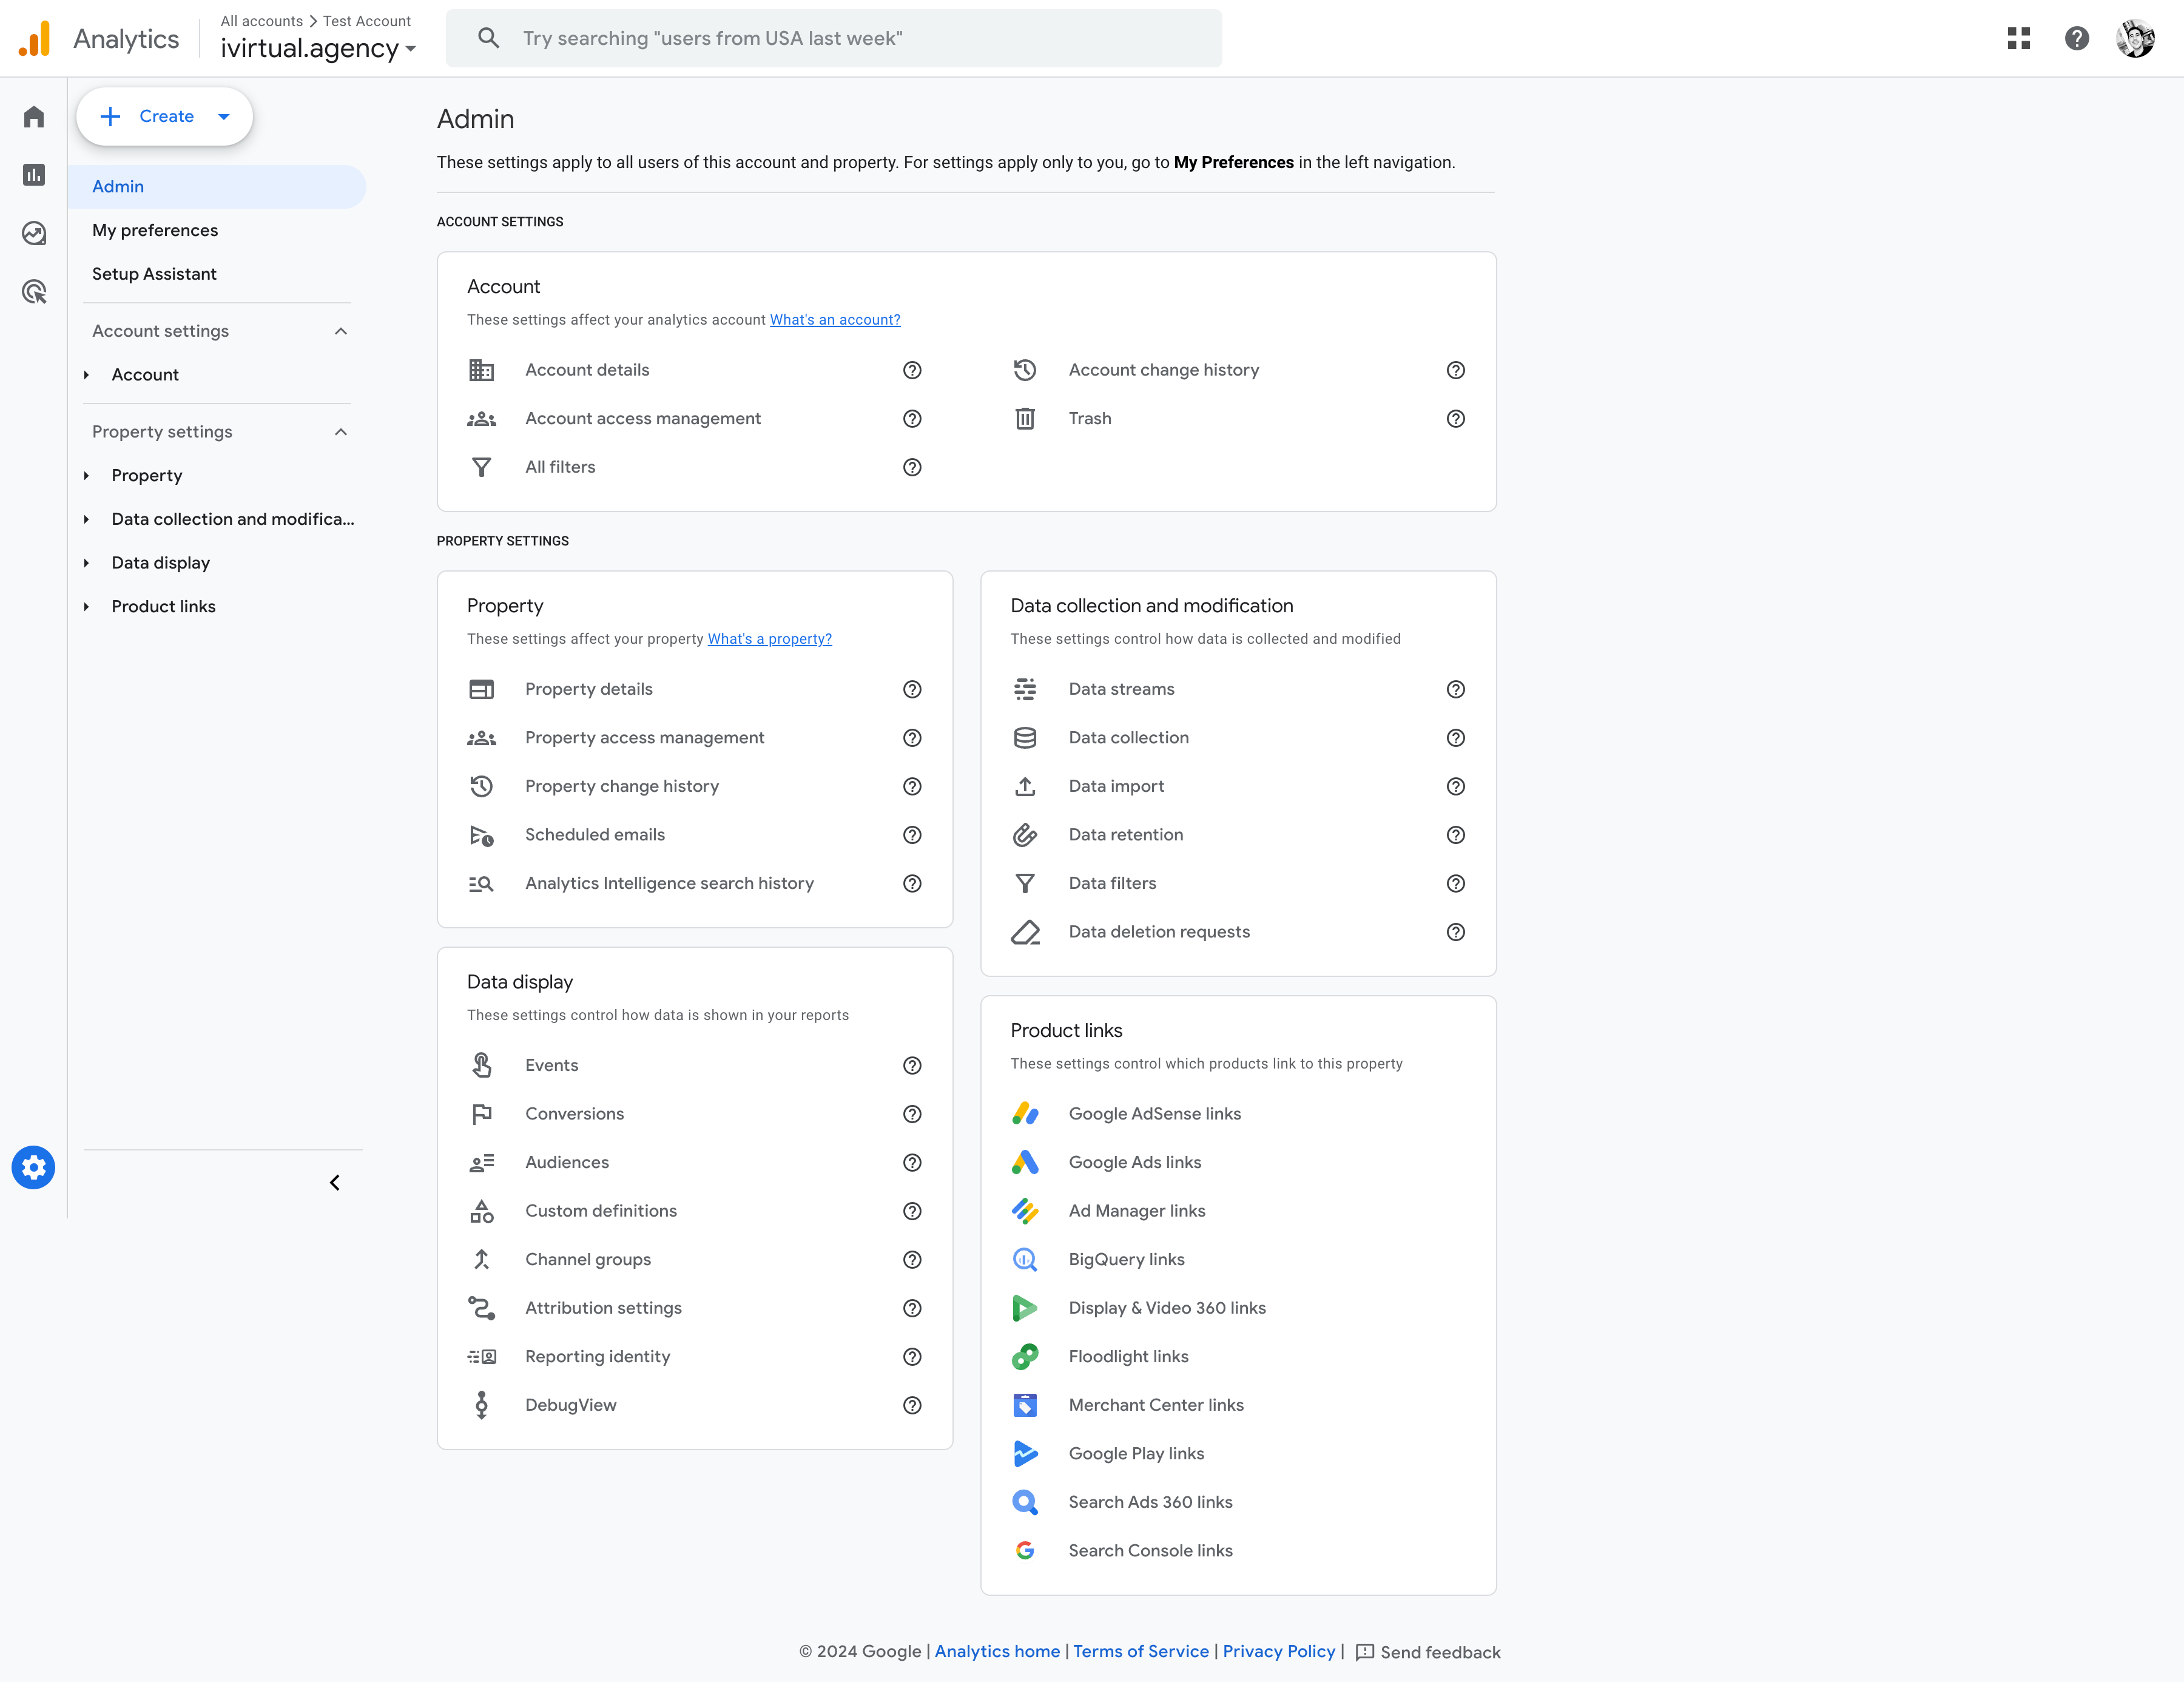
Bonus configurations for Analytics
At the bottom left of your screen, you will always see the admin cog icon. We encourage you to check which extra options there are for configuration. You may be missing some opportunities for not checking this. Below, you will see two more options that we usually change and make much sense doing so.
Google Signals and user tracking
Google Signals is an advanced feature that activates additional reporting capabilities in your Google Analytics account, such as cross-device reports and remarketing capabilities. This option is under "Data collection" on the admin tab. By enabling Google Signals, you gain insights into how users interact with your site across multiple devices, enhancing your understanding of the customer journey.
Google will try to track users cross-device without you needing to do any extra configuration, but if you want this feature to be as solid as it can be, you can send Google Analytics the user ID and track them cross-device. This makes much sense for websites that let users log into accounts and have users in their database.
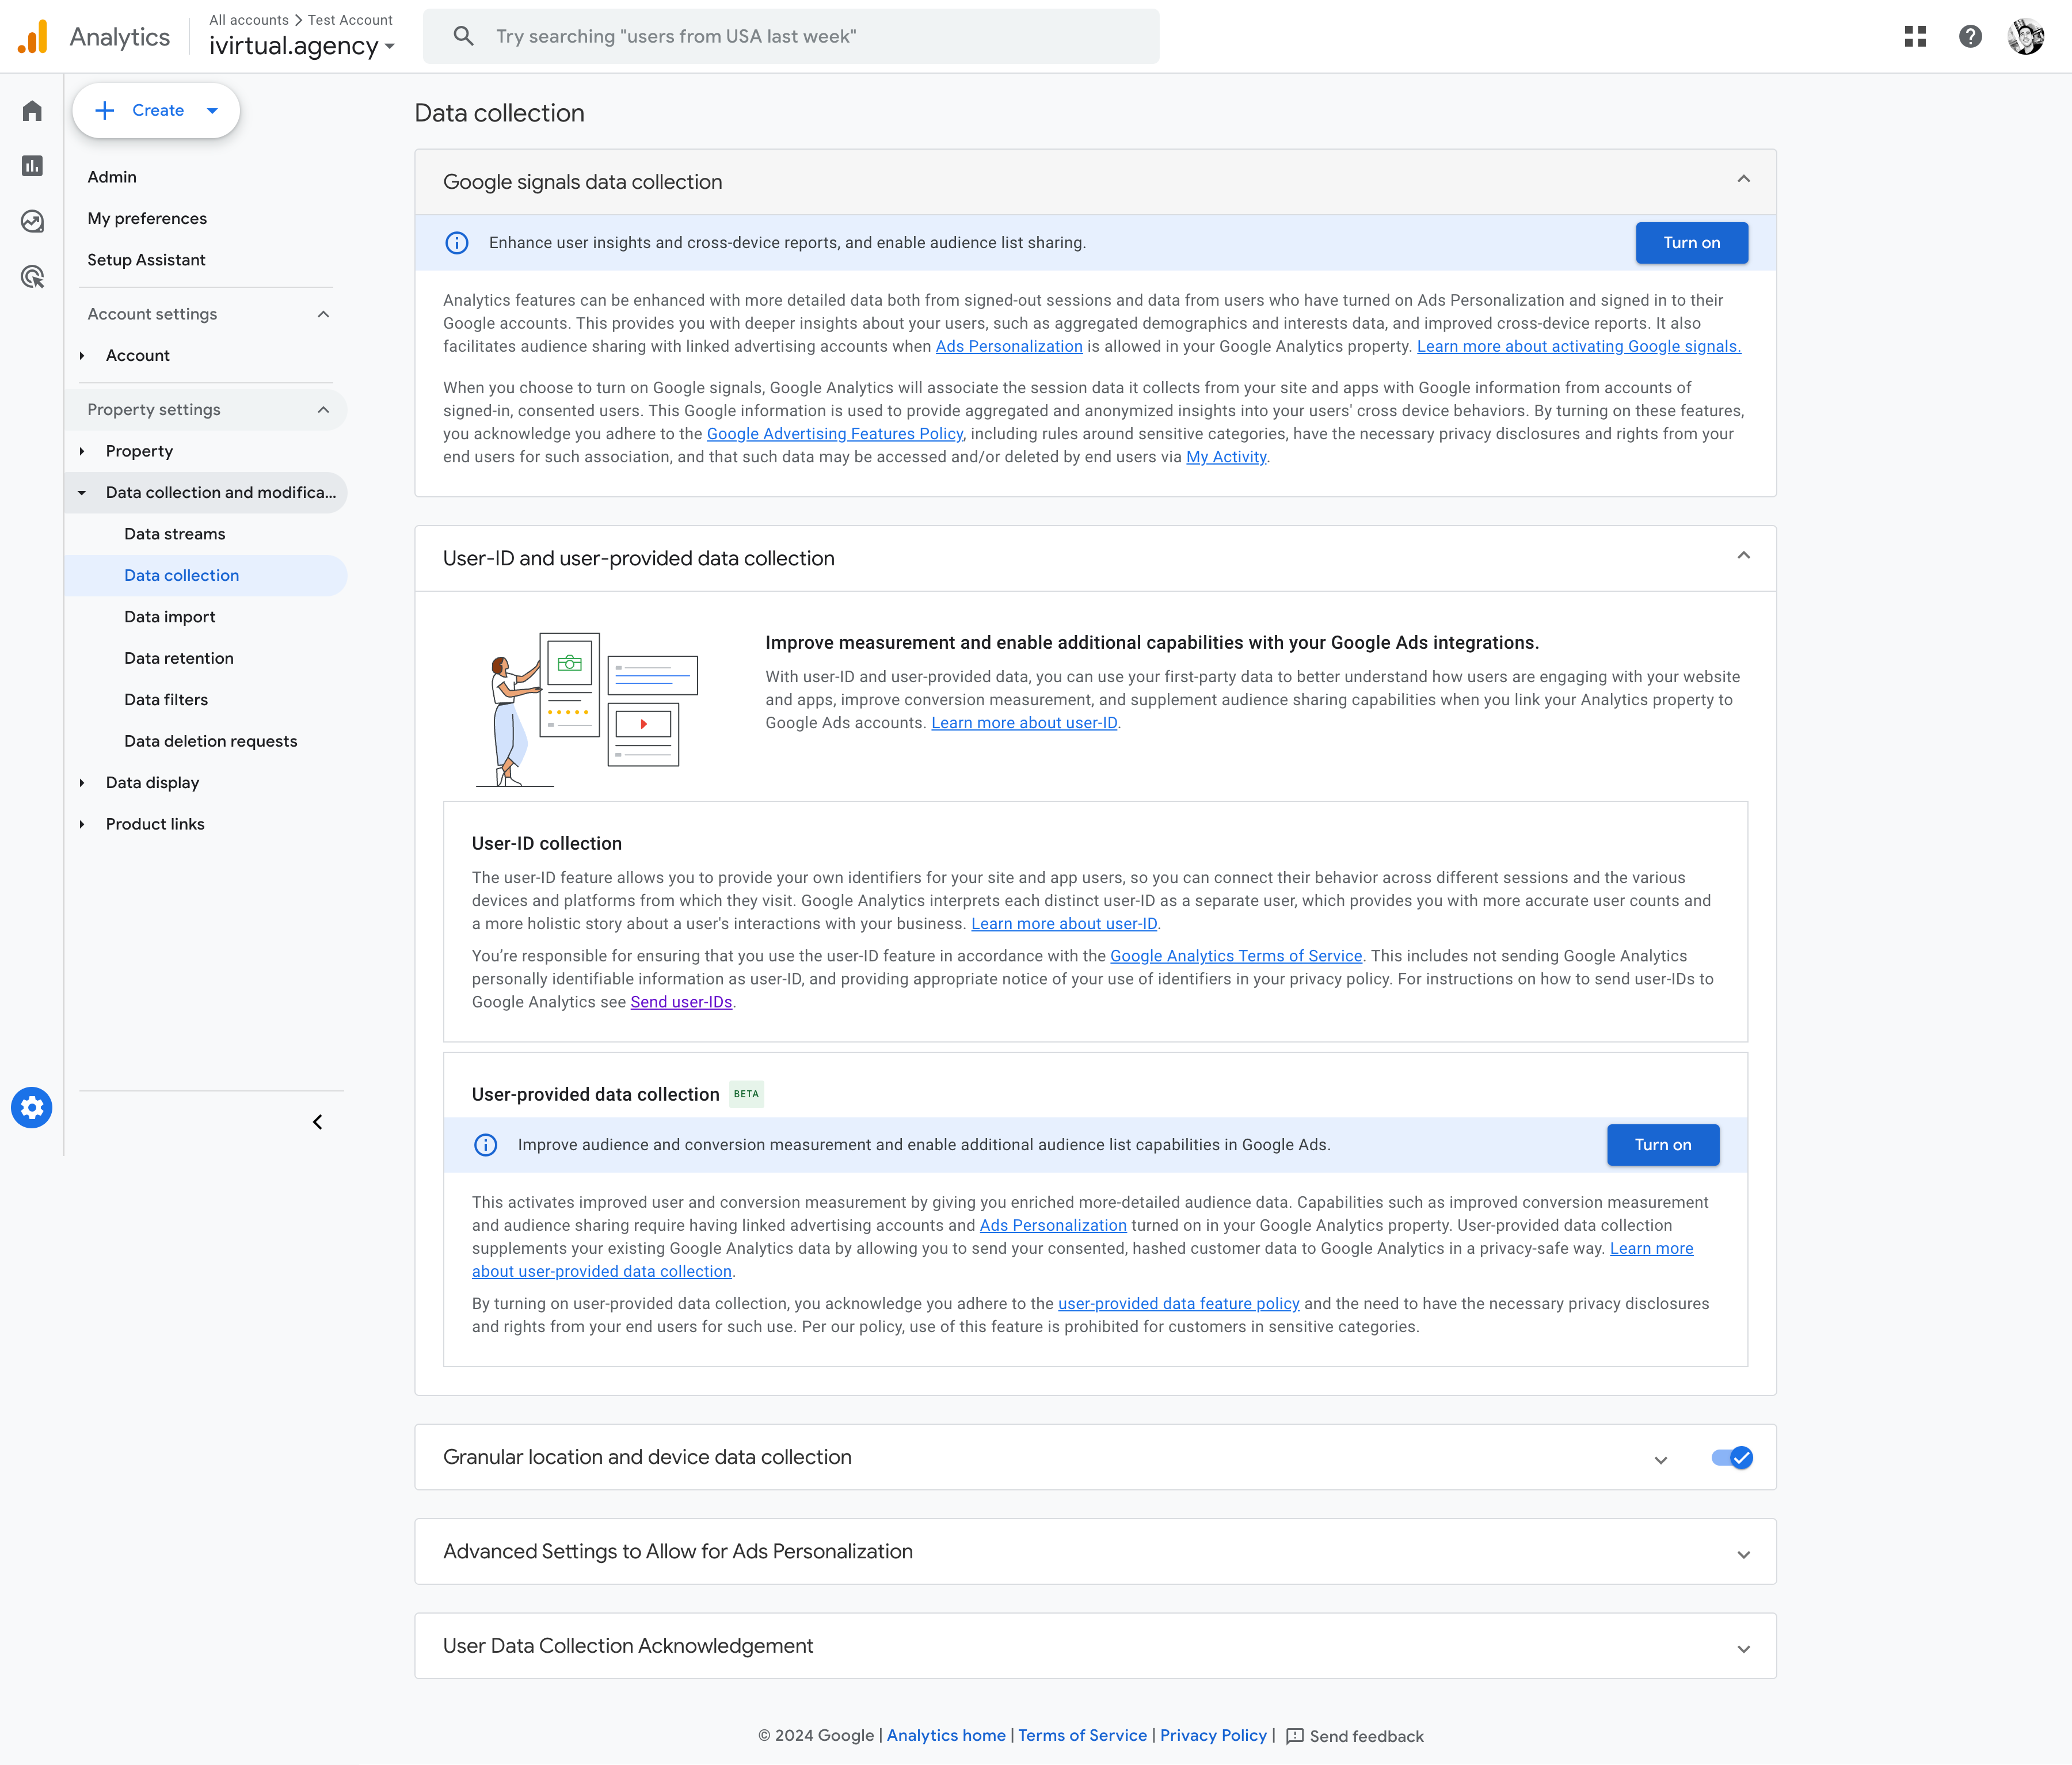
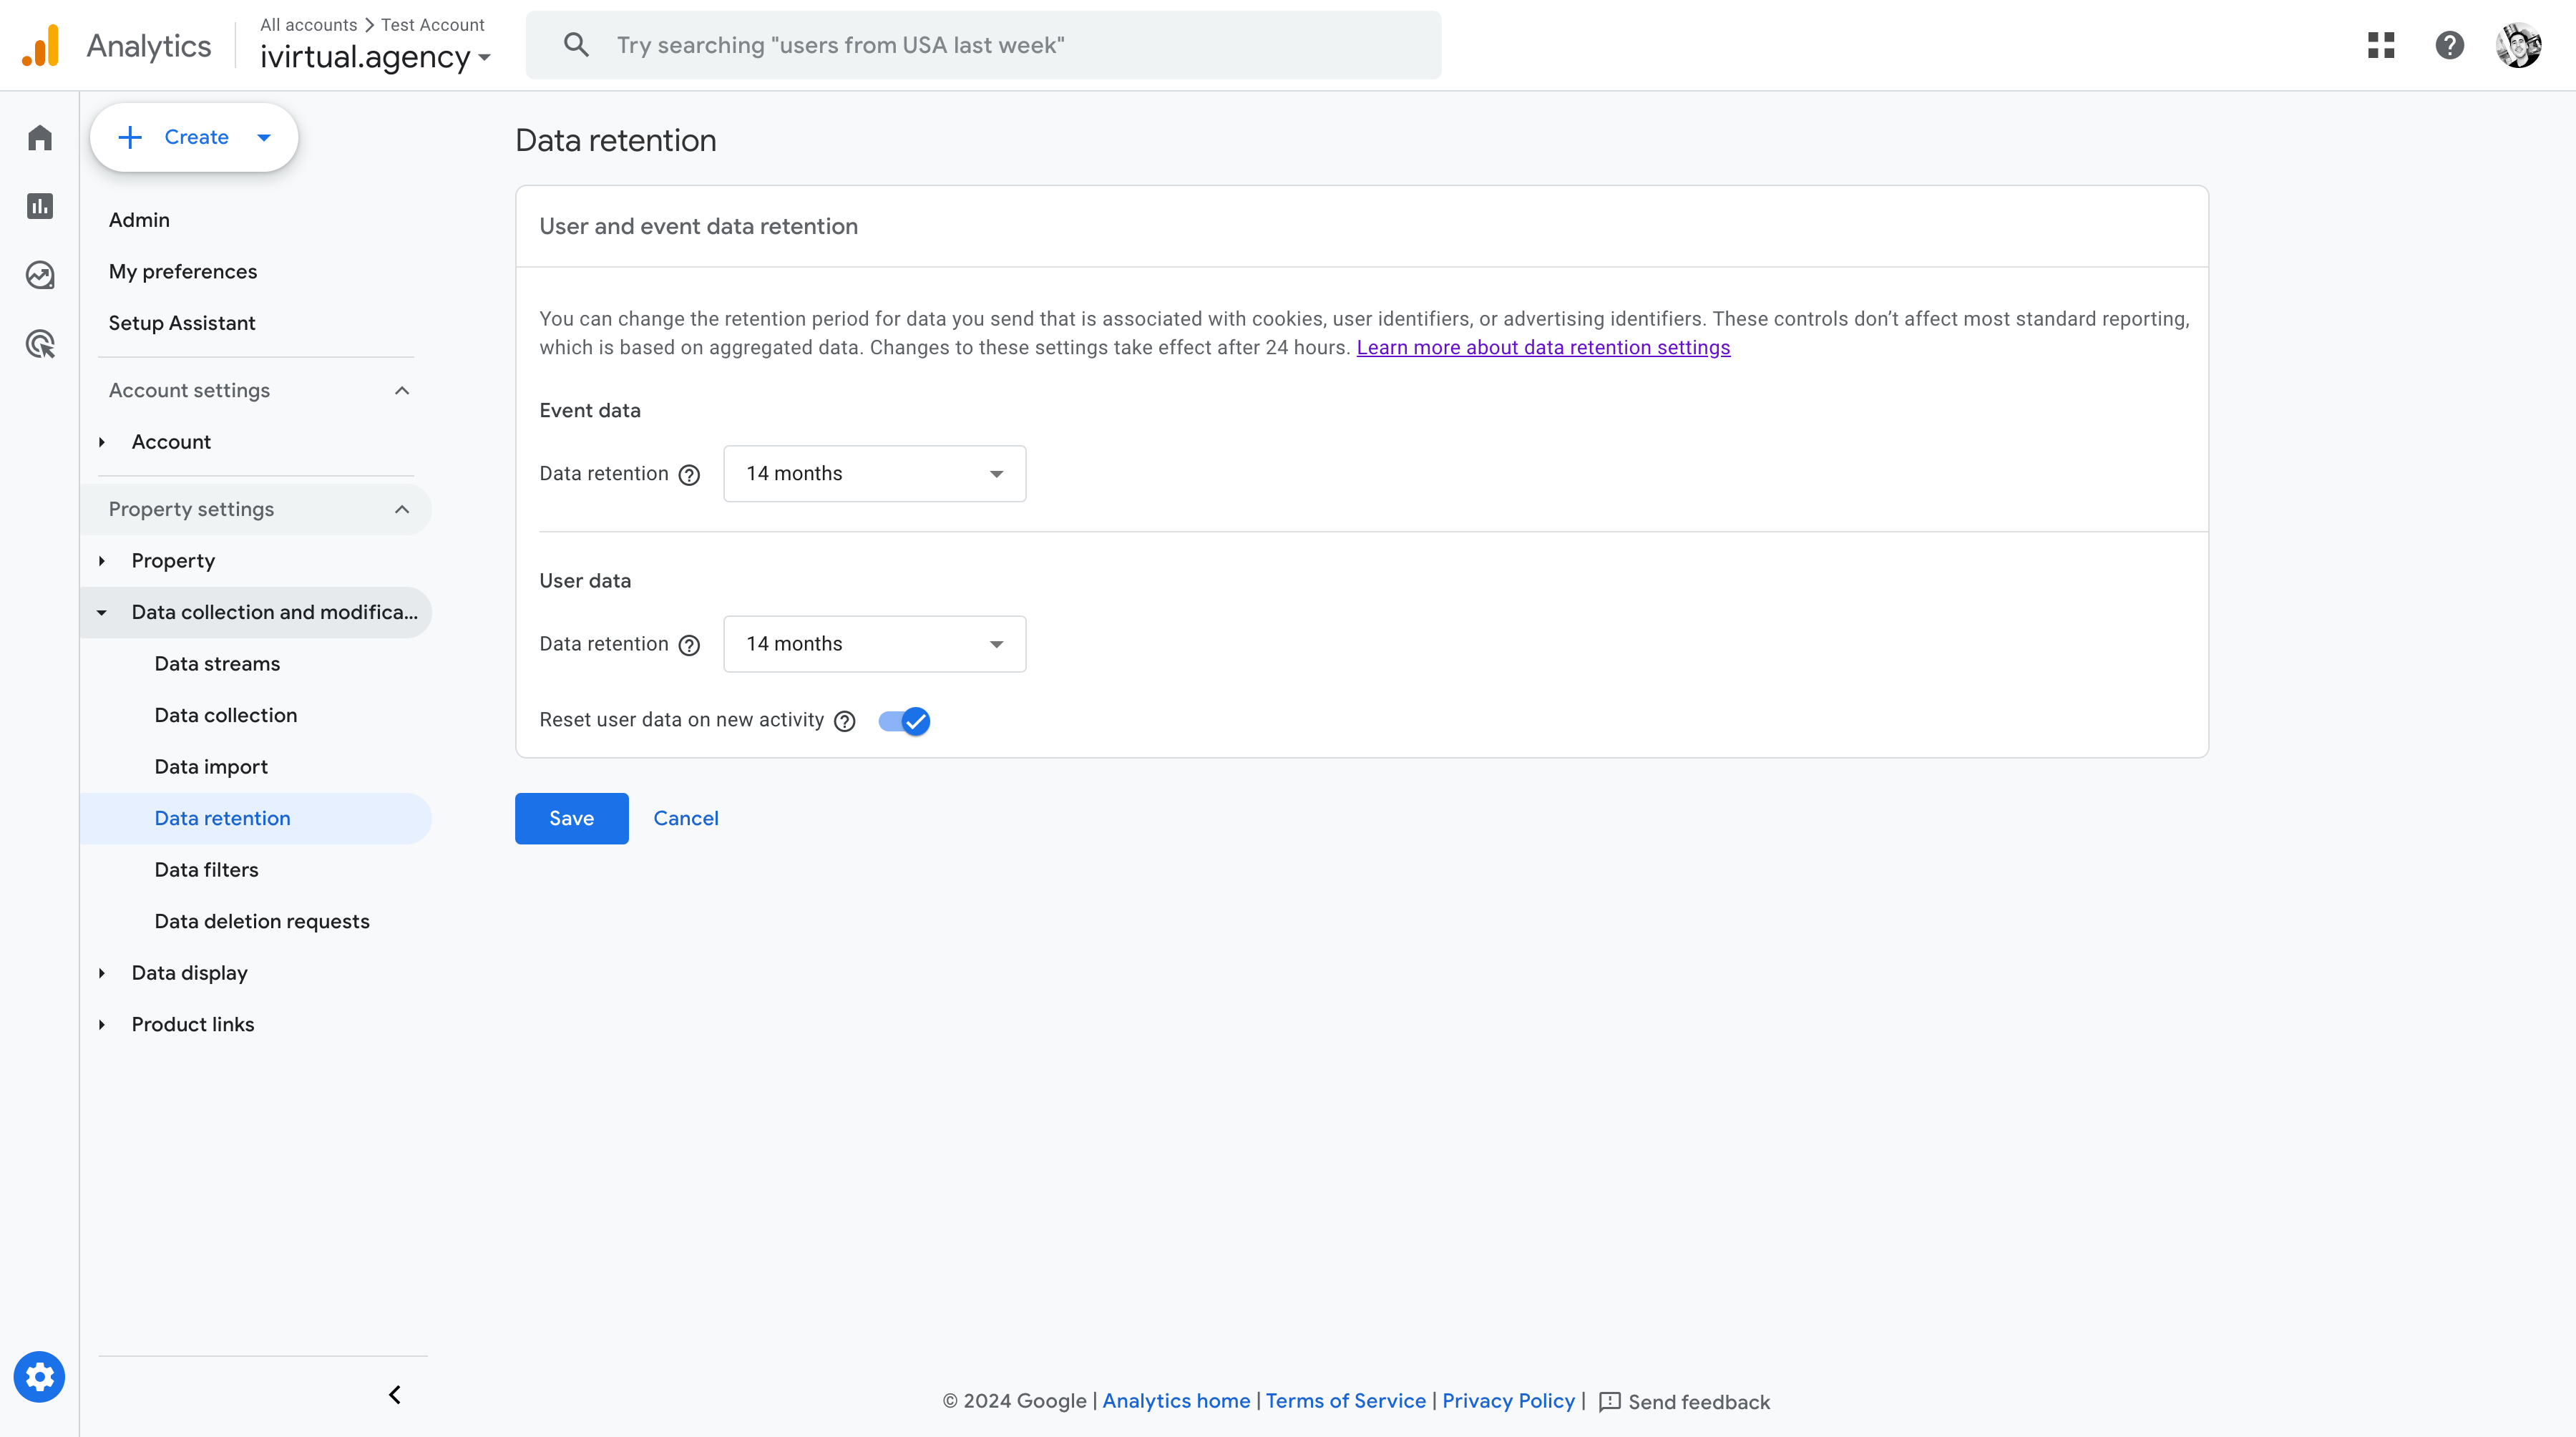
Data Retention
Data retention settings in Google Analytics determine how long user-level and event-level data is stored before it's automatically deleted. Adjusting these settings can help you balance between retaining valuable data for analysis and respecting user privacy.
You can select how long you want to retain data, with 2 or 14 months options. When deciding, please consider your company's data needs and privacy policies.
You can also decide whether the retention period should reset with a new activity. If enabled, the retention period restarts from the user's last activity date, allowing you to keep data longer for active users.
This is important for seasonal businesses; a user may have interacted with our company last year, and if we have the data retention set to 2 months, we will see this year's interaction as new with our brand. This may throw off our customer lifetime value metric, and in our campaigns, we will see it as a new customer when, in reality, it came through another campaign last year.
Setting Up Goals
Goals in Google Analytics allow you to track specific user actions, such as form submissions or product purchases. This step is vital for measuring the effectiveness of your website in achieving your business objectives.
Lead-Generation Goals
When we talk about generating leads, we usually go by forms. There are two ways of setting up analytics. The easy one would be to ask our developer to create a thank you page, redirect the user to it after a form submission, and add the following line of code to it:
<script>gtag('event', 'generate_lead');</script>
This would send an event to Google Analytics indicating a lead has been generated; the event's name would be "generate_lead". This can be anything you want, but there are standard events, and we recommend following them. This assures that if someone tries to analyze data in the future, they will identify the events quickly and quickly assess what's happening. If you go for custom events, we recommend having documentation with all of them.
Something to consider: the event will be sent each time the thank you page loads. You should count only one conversion per customer in your digital marketing campaigns.
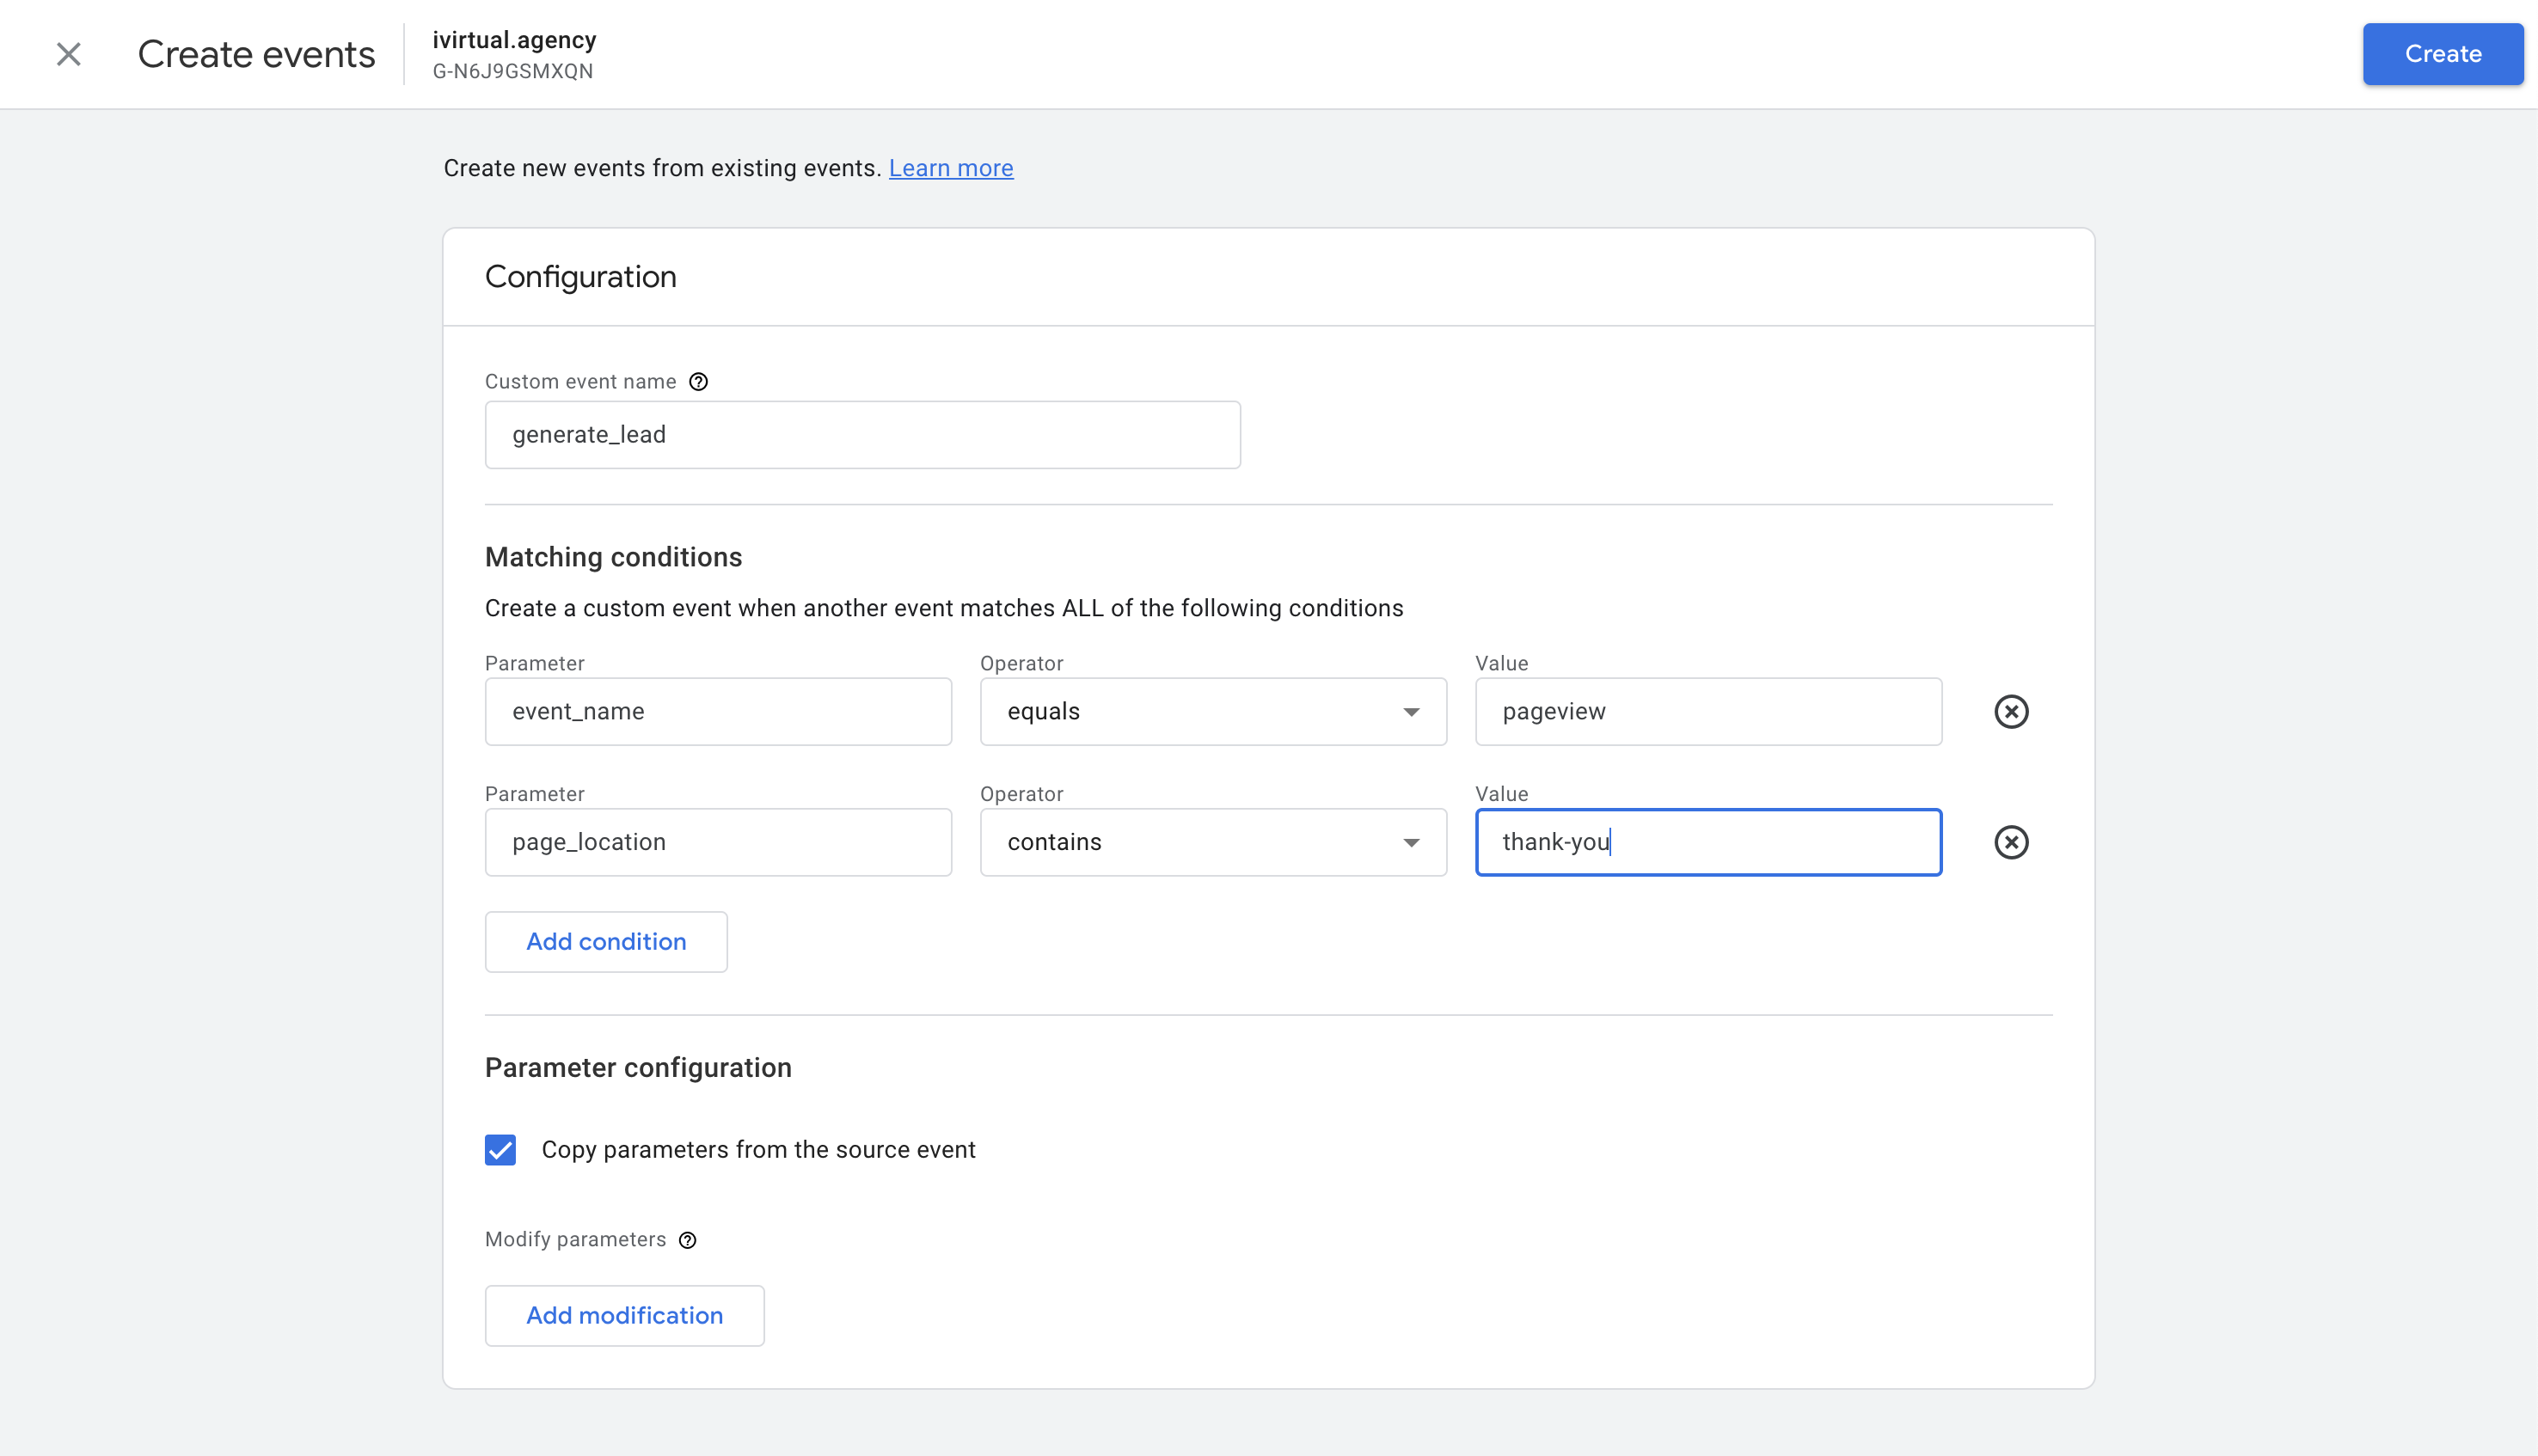
If you want to avoid bothering the developer, the other way of tracking this is Google Analytics, which receives all pages viewed on the platform. You can create events from events; this way, we can make the event from the thank page pageview.
Go to events on the admin page, and you will see a "Create event" button on the events tab. You will have a matching condition to set up where to add the thank you pageview conditions. This will depend on your configuration, but the pageview event is usually called that way, and you have a parameter of the page location that could be the thank you page URI (https://ivirtual.agency/thank-you) as an example.
Ecommerce Goals
If you're running an ecommerce business, odds are that you have a CMS or ecommerce platform under the table like Shopify. They all offer Google Analytics configuration just by pasting your measurement ID on the configuration tab, but it will ultimately depend on the platform. WooCommerce provides many plugins to do this; you will need to check for compatibility with your current plugins and WordPress.
If you have a custom ecommerce for your website, you must ask your developer to go over the Google Analytics documentation and code all the events on the platform. Here's a list of all the main ones so you can check if you're missing something:
| add_payment_info | submits their payment information during checkout |
| add_shipping_info | submits their shipping information during checkout |
| add_to_cart | adds items to their shopping cart |
| add_to_wishlist | adds items to their wishlist |
| begin_checkout | begins checkout |
| purchase | completes a purchase |
| refund | receives a refund |
| remove_from_cart | removes items from their shopping cart |
| select_item | selects an item from a list of items or offerings |
| select_promotion | selects a promotion |
| view_cart | views their shopping cart |
| view_item | views an item |
| view_item_list | views a list of items or offerings |
| view_promotion |
Google Search Console Integration with Google Analytics
Integrating Google Search Console (GSC) with Google Analytics bridges the gap between search data and user behavior, providing a comprehensive overview of how users find and interact with your website. This integration enriches your reports with valuable search data, offering insights crucial for optimizing your SEO strategy.
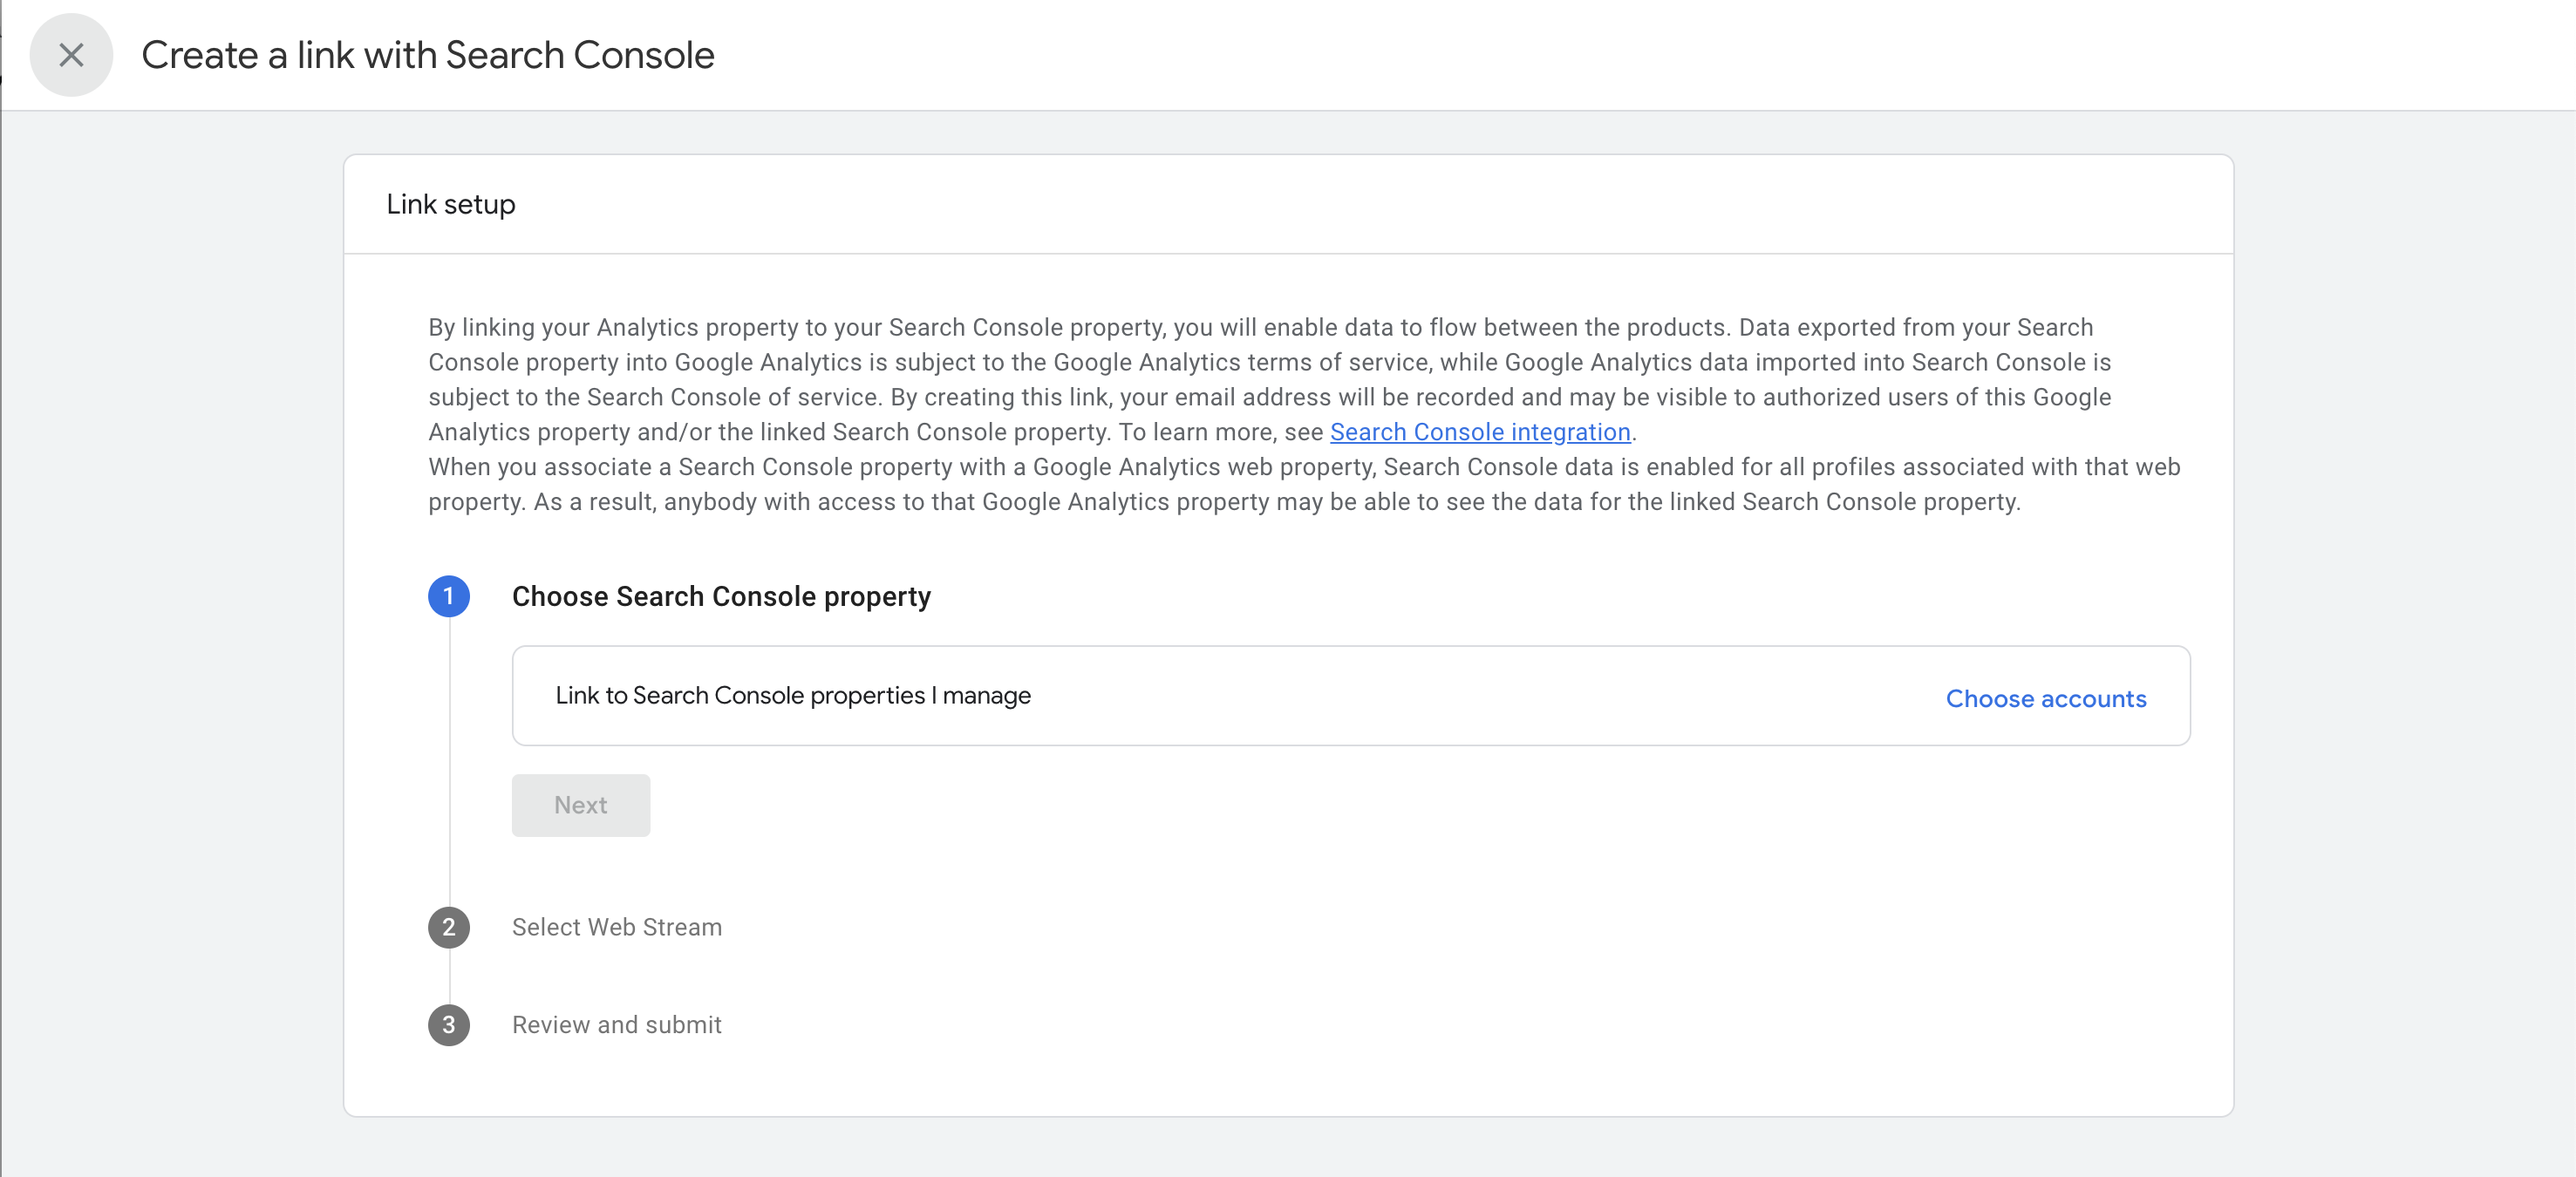
The integration is simple if you already have your domain claim on Google Search Console.
Go to the Admin tab, select Google Search Console under Product Links, and create the connection. You will be prompted with the following configuration, where you need to choose the Search Console domain and the data stream you want to link it.
Here's what you gain from this integration:
Enhanced Acquisition Data
The integration pulls data from GSC into Google Analytics, showing you the search queries that lead users to your site. This includes the keywords users searched for, your site's average position for those queries, click-through rates (CTR), and impressions. This data is invaluable for understanding which keywords are performing well and which need improvement.
Landing Page Performance
You can see which of your website's pages are most visible in search results and which attract the most clicks. This helps identify high-performing pages and those that may require optimization for better search visibility or content adjustments to improve CTR.
Device-specific Insights
The integration also provides data on how your site performs across different devices, letting you see whether mobile, tablet, or desktop users are more likely to click through to your site. This can inform mobile optimization strategies and help ensure a seamless user experience across all devices.
Geographic Performance
Understanding where your search traffic comes from geographically can help tailor your SEO strategies to target specific markets more effectively. GSC data in analytics highlights the regions where your site is most popular, enabling localized SEO efforts.
Overall, this allows for a deeper analysis of search data alongside behavioral analytics. You can better understand the user journey from search query to website interaction, providing actionable insights to improve your site's SEO and user experience.
Google Ads Integration with Google Analytics
Linking Google Ads with Google Analytics offers a powerful combination for tracking the effectiveness of your advertising campaigns and understanding how users who click on your ads interact with your website. This integration enhances your ability to measure return on investment (ROI) and optimize your ads for better performance.
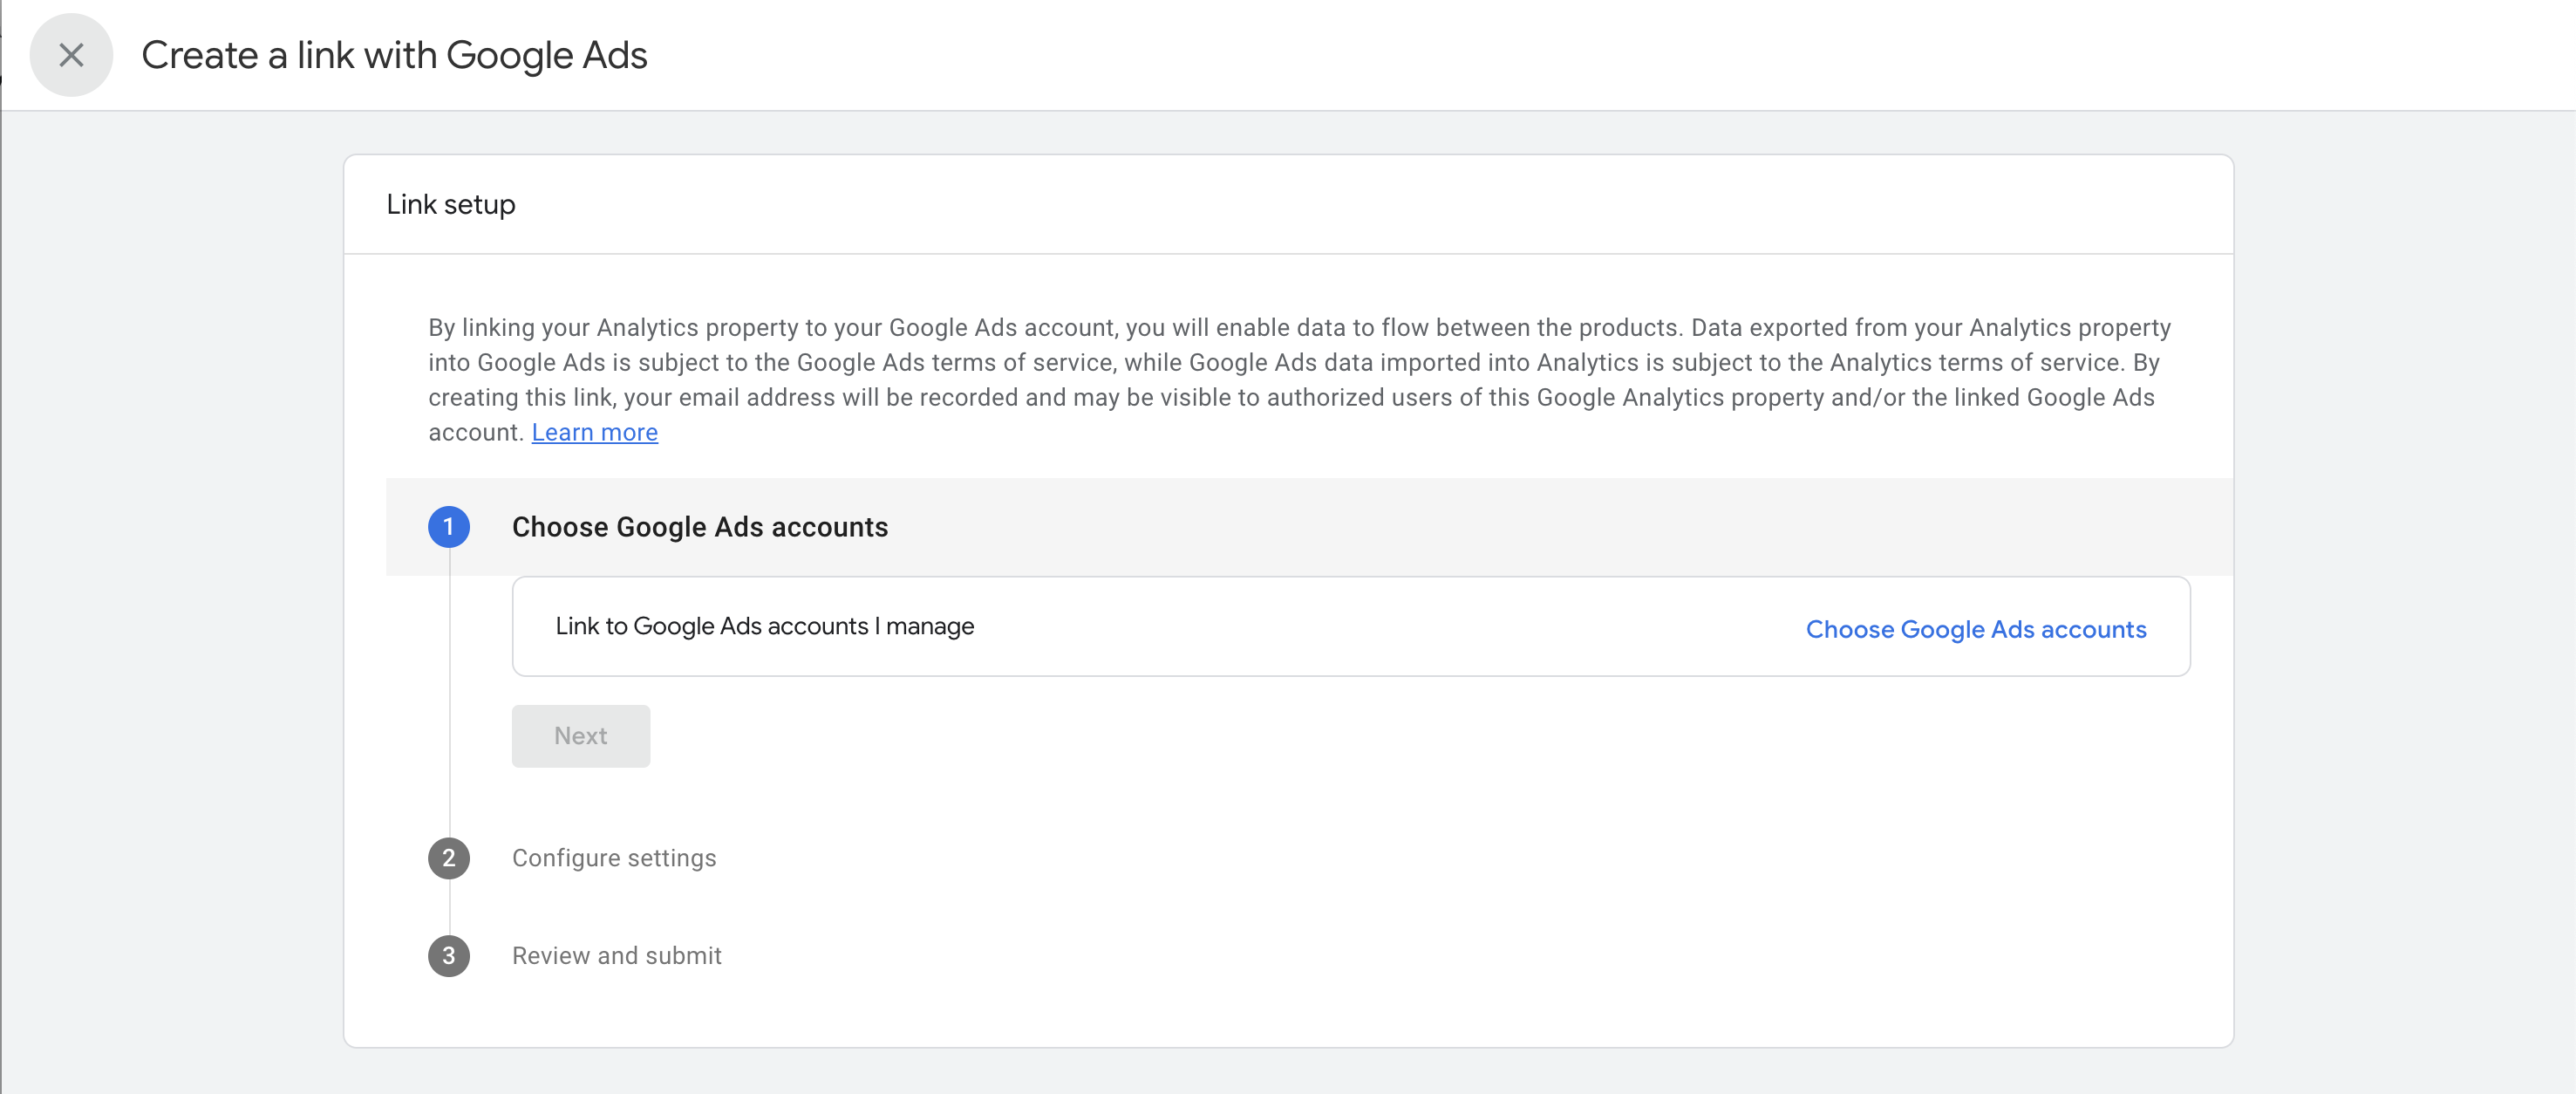
To do this, go to the Admin tab, select Google Ads under Product Links, and create the connection. You will be prompted with the following configuration, where you need to select the Google Ads account you want to link. In the second step, you will be asked whether to enable Personalized Advertising to have audience lists and remarketing audiences from Google Analytics into Google Ads and to allow access to Analytics features from within Google Ads. We recommend having both of these enabled.
Here's what you gain from this integration:
Campaign Performance Insights
You will see detailed reports on your Google Ads campaigns, including impressions, clicks, CTR, and cost data. This allows you to evaluate the effectiveness of your ads in real time, adjust bids, and refine targeting to maximize ROI.
User Behavior and Conversion Tracking
Beyond clicks, this integration provides insights into what users do after they click on your ads. You can track their behavior on your site, including which pages they visit, how long they stay, and what actions they take. This is crucial for understanding the user journey and identifying bottlenecks hindering conversions.
Ecommerce and Conversion Goals
For ecommerce sites or any site with specific conversion goals, linking Google Ads to analytics lets you see how well your ads drive conversions. Whether it's product purchases, form submissions, or other actions, you can track these conversions back to specific ads, ad groups, or campaigns, providing a clear picture of what's working and what's not.
Advanced Audience Insights
The integration allows you to use rich audience data to create highly targeted custom audiences in Google Ads. By understanding the demographics, interests, and behaviors of your website visitors, you can tailor your advertising to reach similar users, enhancing the effectiveness of your campaigns.
Advanced Features and Customization
As you become more comfortable with Google Analytics, explore its advanced features, such as custom dimensions and segments. These tools allow for deeper analysis and a more nuanced understanding of your website's performance. Custom reports can be created to focus on specific data, offering tailored insights to meet your unique business needs.
Data imports into Google Analytics
There is one last gem uncovered in Google Analytics that most people need to use: data imports. Google services have a perfect integration between them, but when running omnichannel campaigns and adding other advertising platforms to your strategy. Usually, such data needs to be included. To solve this, Google lets us import this data into analytics to have as an example CPA of all our marketing efforts, even offline ones.
Conclusion
Setting up Google Analytics is the first step towards leveraging data to enhance your website's performance. This guide laid the foundation for a data-driven approach to understanding your audience and making informed decisions. Remember, continuous learning and experimentation are the keys to success with Google Analytics.
This is just the start; the next step will be to have a custom report to analyze everything you've just set up. Contact us if you want your report.


